The carefully designed overlay will help you stand out among thousand of other Twitch channels. Here is how to make a stream overlay to get more attention:
Using a finished template
You can take an easier route and download a finished template, tweak it to match your brand, and in a few minutes, have a new overlay. We recommend these websites for finished templates:
1. OWN3D
2. Fiverr
3. Placeit
4. Nerd or Die
5. Player.me
Designing the overlay in a software
You can design an overlay from scratch. Here is how to do it in different software:
1. Canva – Click on “Create a design” and set the resolution of the blank canvas to 1920×1080. You’ll see all the elements on the left side of the screen. Add the frame, text, and any other elements you need. Download the design once you’re done.
2. Photoshop – Add the blank canvas that is 1920×1080. Remember to add a new layer before adding a new element to your design. To create a banner, select the Rectangle tool, choose the color, and set the opacity to 75%. You’ll find all of the text features in the Character tab. To add the transparent background, click on the eye icon. Then save the overlay as PNG.
Streaming is more than just turning on your webcam, launching the game and OBS, and hitting that record button.
Streamers, that want to turn their hobby into a full-time job, have to spend a lot of time working on their content – picking the right game, choosing the best settings, investing in the equipment, and of course, making unique designs that will help them stand out.
So, if you want to be recognized by a wider audience, you will have to learn a few of these tricks and overlays could help you get more attention.
If you are new to the world of streaming, you might not even know what Twitch overlay is or how to make a stream overlay – this guide will give you the information you need.
Table of Contents
Twitch Overlay – Everything You Need to Know
Before I get into the details about how to make a Twitch overlay and which programs can help you in the process, I want to focus on the basics, so you understand better the importance of them.
If you are already familiar with overlays, then you can skip to the part about making a Twitch overlay, but I would still recommend going over this part too, as there might be some information you don’t know.
What is it?
Overlays are usually graphics that are placed somewhere on the screen during the stream.
In some way, they are alert boxes, but not quite since they have multiple purposes, but more on that a bit later.
Streamers use overlays for branding but also for increasing the quality of the content, reaching more people, and creating more engaging streams.
If you use a custom overlay, the stream will look more polished and professional, which will draw more people to watch it. Thus, your audience will slowly expand, and you will be one step closer to turning this fun hobby into a job.
What is a Twitch Panel?
Many amateurs confuse Twitch panel with Twitch overlay since graphics are quite similar.
However, there is some huge difference, and these graphics have different purposes, so it is important to understand the difference between the two.
As said, the overlay is featured in the stream, it is always located somewhere on the screen, no matter what its purpose is.
On the other hand, Twitch Panel is always located in the description of the channel.
This panel is typically used for providing some information for viewers.
For example, you can create an “About me” Twitch panel, and keep it in the description of all videos, so new viewers can learn what the channel is about. Furthermore, you can share some technical information via Twitch panels – viewers may be interested to know which camera you are using, microphone or software.
As you can see, both panel and overlay are equally important and can help you reach more people and create better content.
Different Types of Overlays
In general, overlays can be made for anything you want, but if you don’t know where to start, here are some basic ones that you should implement into future streams:
1. Webcam
As you already know, a webcam is a must-have piece of equipment, and by adding an overlay, you can make the video stand out from the stream.
Also, by adding an overlay, it will look more appealing – people aren’t drawn to a plain box on the screen, but an overlay will grab their attention.
2. Chat
Multiple things are going on simultaneously during the stream, and one way to draw attention to the stream chat and make people engage in the discussion is by adding the stream chat overlay.
3. Alerts
You can add custom overlays to alerts, so your new viewers and donors feel special and seen.
4. Ad
At one point, the sponsorships will start.
If you do not promote the product properly, you could lose that sponsorship, and I would suggest always using overlays for ads.
This is the best way to draw viewers’ attention to something and to be sure that all of them saw that product.
Practical Information
Now that you are familiar with the types, it is time to learn more about proper dimensions and get some other practical information.
1. Resolution
Firstly, let’s talk about resolution.
Generally, the resolution should be the same for all overlays, except for alerts.
The recommended resolution is 1920×1080.
For alerts, remember to choose a lower resolution – 750×250 should be good.
2. Background
Each overlay must have a fully transparent background.
Also, make sure that the color pallet sort of matches the color of the screen – too bright colors will be an eye-sore, so always create a few designs, using different shades, to find the color pallet that looks the best.
Another important thing – the viewers should focus more on the game, so the opacity of the overlay has to be lower. I would recommend setting it at 75%, so the gameplay is in focus.
3. Features
So, you have the design in mind. Before you make it, choose for what you want to use it.
Is it the alert overlay or webcam overlay, or maybe even both? Consider all of this before adding the overlay and going live.
4. Size and Format
When it comes to the format of the file, you have multiple options.
JPEG and PNG are acceptable. Some streamers even use GIF, but this depends on the feature – GIF is great for alerts, while for webcam overlay, JPEG is a good choice.
The size should be around 10 MB.
Guidelines for Making Twitch Overlays
Before I start talking about how to make a Twitch layout, I want to give you a few guidelines you should stick to when designing.
It is easy to get carried away, so here are a few traits of a good overlay:
- The design is clean.
- Overlays are similar – make sure that the style of different overlays matches since overlays are part of your brand.
- Don’t overdo it – there is no need to use many elements when designing.
- Make sure that it gives enough information to promote the viewers’ experience.
How to Make Overlays for Twitch – Finished Templates
Not everyone can come up with the design for an overlay so easily, so in this part, I will talk about a few software that can help you create unique overlays.
If you want to start from scratch and create an overlay entirely on your own, no worries, I will talk about Photoshop later too.
1. OWN3D
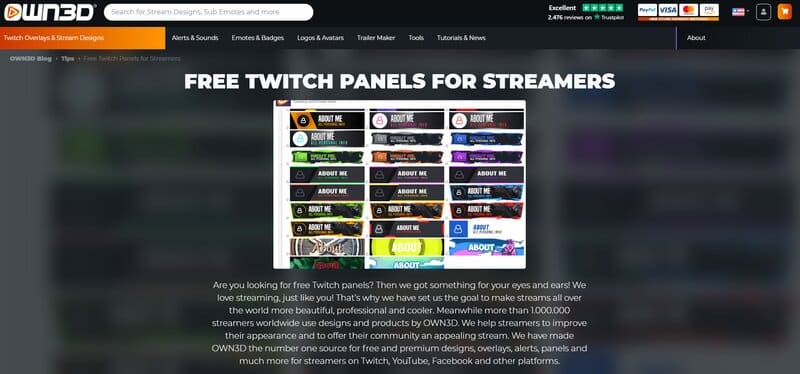
OWN3D is just one of the websites where you can find Twitch overlays.
I placed it on the first spot, because it has one of the largest galleries, and even when you purchase an overlay, you can further customize it and add your stamp.
The gallery is constantly updated with new designs, and during holidays (such as Christmas or Valentine’s Day) there are many themed overlays.
Besides overlays, you can also find additional Twitch tools – for example, you can update the alert box or stream chat, and make sure that all designs match.
As said, these overlays have to be purchased. Most of the prices are quite budget-friendly, and overlays won’t cost you more than $40.00.
2. Fiverr
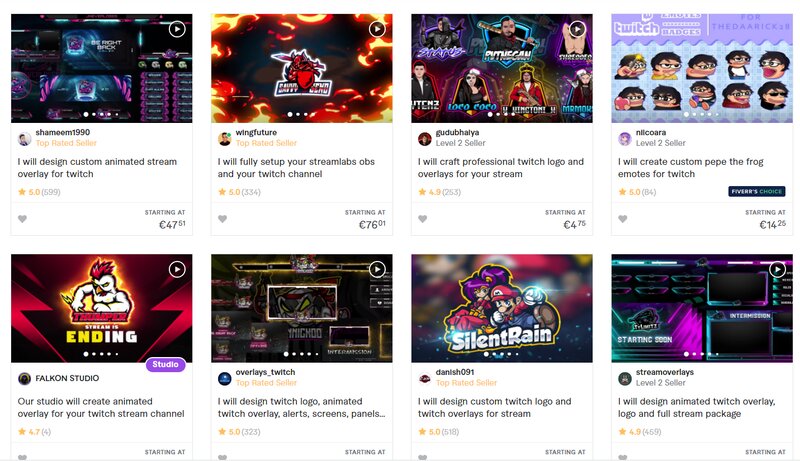
Fiverr is a website that’s used by freelancers to promote their work and get in touch with clients, and as the name suggests, their prices start at a fiver, so it’s very likely that you will find what you need for only a small fee.
There are many graphic designers among freelancers in general, so naturally, there are a lot of them on Fiverr, and making a Twitch overlay is usually a very easy task for them.
This is the main reason why you should consider searching up something on Fiverr, people you’ll find are going to do this very well, and you won’t have to try and fail until you achieve only a somewhat good overlay.
You could say that the downside of this option is the fact that it isn’t free, but since the prices on Fiverr come in a wide range, I believe that you will be able to find something that suits your needs and your budget.
Either way, keeping Fiverr in mind is a good idea, for not only this but basically anything graphic design-related that you might need in the future.
3. Placeit
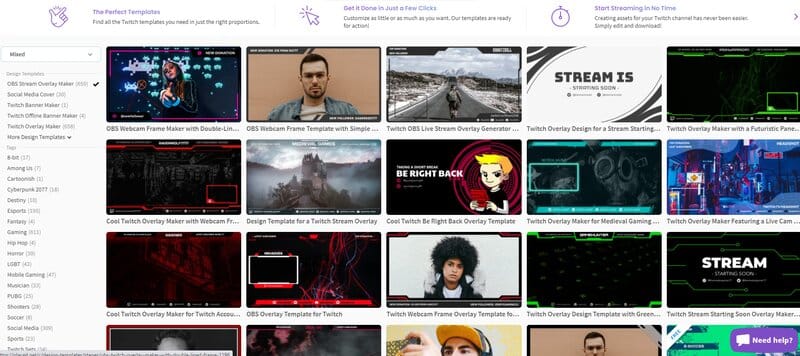
Now, we have a great option – Placeit.
This website offers logos, and BRB, starting and ending scenes along with overlay templates.
To start, create an account and go to the page for overlays.
All of them are placed in different categories such as Newest, Free, or Best-sellers.
While searching for the one that will suit you the best, you can like the templates – later, go to the library to pick the best out of saved ones.
Once you click on the template, you will open the Editor, where you can customize it.
There are presets that can speed up the customization process a bit as well as options to change the text, color, or add a logo. Colors can also be adjusted, so you can customize the icon, background, and frame.
When you are done, all you have to do is download it.
If you picked the free template, it can be downloaded without any extra charges. For any other template, you will either have to purchase that one overlay or subscription (monthly and yearly). Compared to other websites, this is the cheapest one – monthly membership is only $14.95.
4. Nerd or Die
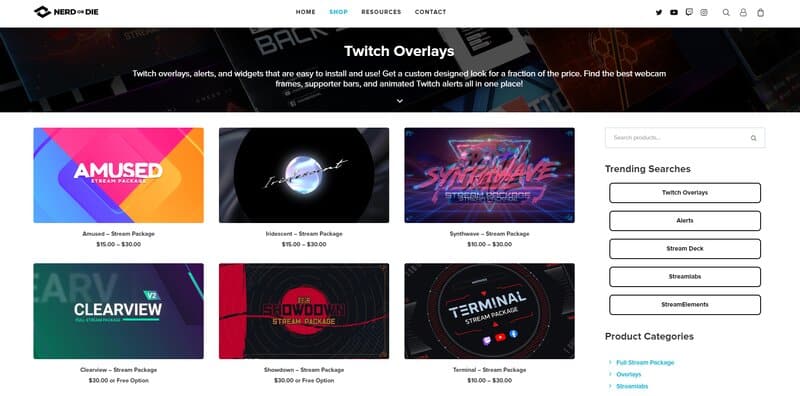
Nerd or Die is another great website with a bunch of templates for overlays as well as for alerts.
The website is quite suitable for streamers that are using Streamlabs OBS because the import from Nerdordie to SLOBS is quite easy.
Of course, streamers that prefer different software can try out these templates as well.
As with OWN3D, all templates can be customized – you can use designs from the library as an inspiration, and then adjust the color, add/delete elements as you wish, and adjust the size.
5. Player.me
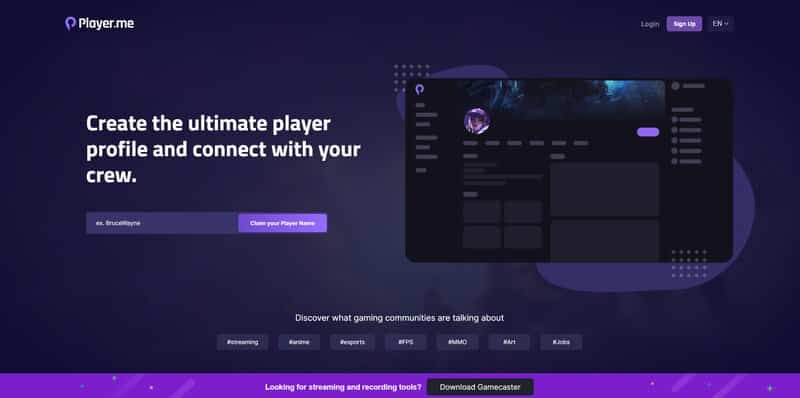
This website is entirely free, so if you are on a tight budget (meaning you don’t have any extra cash to spend on alerts, overlays, and other widgets), this is a great option.
Player.me also has a gallery with a bunch of premade overlays, so streamers don’t have to worry about creating the one from scratch.
Styles are numerous, and you can even use the website for alerts and different Twitch widgets.
Customizing is also possible, so when you find a design that suits you the best, you can improve it a bit to match your style.
The website has a few paid features, but you can still do a lot with only the free ones.
Creating Custom Twitch Overlay – what Software to Use
The overlays that stand out the most are the ones that are made from scratch – you will be sure that nobody has the same overlay as you and that it truly represents you and your brand.
So, if you want to create the one on your own, here are a few recommendations:
1. Canva

Canva has templates for everything – CVs, presentations, to-do lists, so it is no wonder that some streamers use it to create Twitch overlays.
It is similar to Photoshop but much easier to use.
As said, it has a rich database of templates, however, there is also an option to create one from scratch.
Here is how you can use Canva for Twitch overlays:
Create an account
Before you start designing, make sure to create an account, so the design is saved.
Create design
Then click on Create design – the first thing you will have to do is determine the dimensions of the new design.
Remember what I said about the resolution – if it is an overlay for anything besides alerts, the dimensions should be 1920×1080.
Choose a frame
On Canva, all features are placed on the left side of the screen.
There you can find elements, text boxes, photos, and templates.
Go to elements and pick the shape you want to use.
If you want to download the design for free, make sure that the elements you are picking out do not have the stamp for Pro users.
You can apply the filter in the search bar, so only free elements are displayed.
When the frame is picked, you can change the color, and size to match the size of the canvas.
Then duplicate the layer.
Choosing a feature
Duplicating is used for creating overlays for different features.
So when you are done creating an overlay for stream chat, duplicate the layer so you can create another for donations.
In most cases, you will only have to change the text and delete/add a few elements. The gameplay overlay will probably be the most time-consuming to make, since it may need an extra frame or extra text.
Download
When you are done, just click on Download – the program will ask you about the preferred format, and if you only used free elements, the download will start immediately.
2. Photoshop
Compared to all mentioned websites and programs, Photoshop gives you the most versatility, but it also the trickiest to use, so I wouldn’t recommend creating overlays in Photoshop for beginners.
Add a new image
Firstly, you have to add the blank canvas and determine the size.
I already mentioned the dimensions when talking about Canva, so just copy them from there.
Screenshot of the game
Since you don’t have any templates, I would recommend using a screenshot from the game during the design process to make sure that colors and styles are matching.
You don’t have to upload the image to Photoshop, just have it opened on your computer as a reference.
Upper banner
In Photoshop, you have to do everything in layers, so click on “New Layer” and give it a name. In this case, it should be named as the Upper or Top banner.
Now, choose the Rectangle tool and select the color of the background – it will be the color of the banner.
Now just create one rectangle on top of the canvas. The rectangle should cover the entire top part.
After that use Blending and use V to set the drag it to the desired position. Do not forget about the opacity – 75% is ideal.
Bottom banner
The bottom banner is created in the same way. First, select the Rectangle tool, choose the color, and then draw the object at the bottom of the canvas. I would recommend creating a Bottom banner in a separate layer from the upper banner, but it is not wrong to make them both in one.
Text
The text is added through the text tool and fonts, colors, and other features are placed in the Character tab.
Since different overlays will have different texts, before adding the text, make sure to duplicate the layer.
Changing the background
As said, the background should be transparent.
However, before adjusting it, make sure that your work is saved.
So, firstly save the design as a file, then go back to options for the background.
It will become transparent after you click on the Eye icon.
Then save the final image in PNG format.
As you learn more about Photoshop and its features, it will be easier to update this design and create better ones.
Adding the Overlay to SLOBS
One thing I would like to note at the beginning of this part is that the following tutorial is for SLOBS.
If you are using OBS, the steps are quite similar, so it shouldn’t be a problem to add any of the made overlays to this software.
Related: How to Add Overlays to OBS
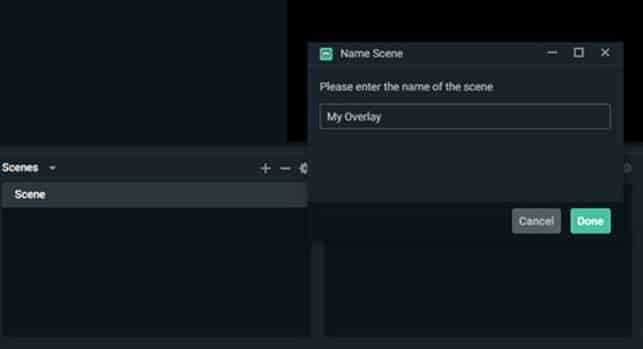
1. Create Separate Scene for Overlays
Overlays have to be added in separate scenes from Gameplay or BRB and Starting soon scenes.
So, make a new one and name it Overlays, so you know to what that particular scene refers to.
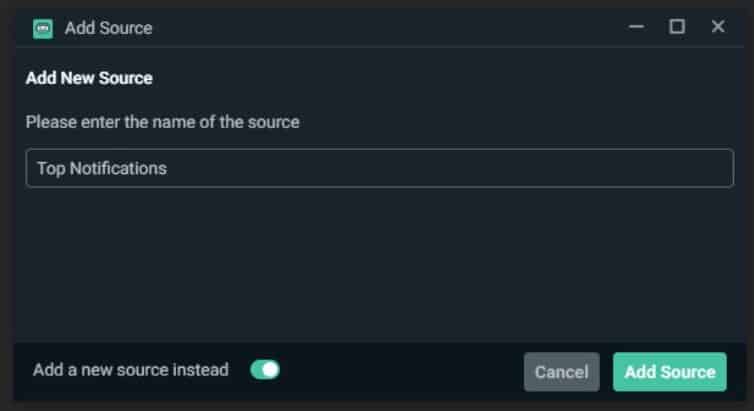
2. Create a Source
Now it is time to manage the sources.
Add a new one, and when choosing the type of source, select an Image because most likely you have the overlay saved in JPEG or PNG format.
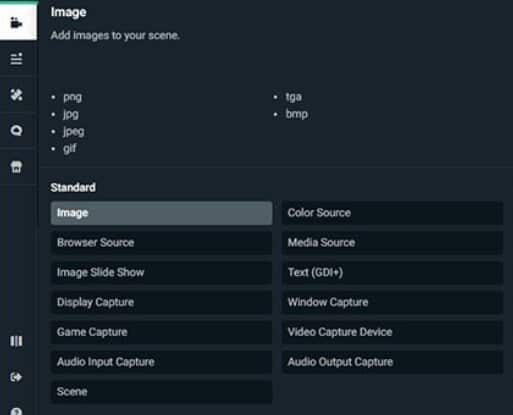
Always check “Add new source”, so one of the old ones isn’t replaced by an overlay.
Do not forget to give it a proper name!
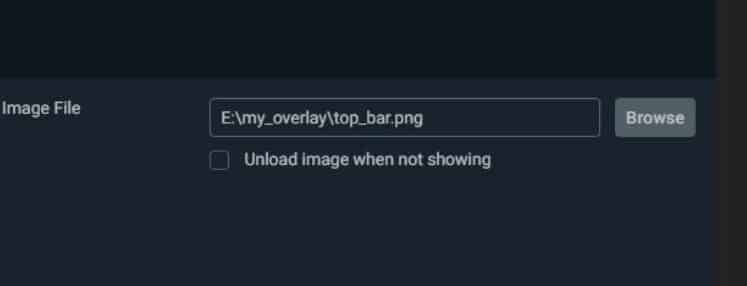
3. Import an Overlay
For this part, you will need to know the path of the file. Just click on Browse to find the image on your computer.
4. Positioning the Overlay
Once all of the above steps are completed, you will be able to adjust the position of the overlay on the screen.
All you have to do is drag and drop on the desired spot.
If you are not seeing the overlay on the screen, check the order of the sources in the sources tab.
The one for an overlay should be on the top to be visible.
Rearrange the order of source if needed, and continue adding the other images/overlays you might need during the stream.
Conclusion
Hopefully, this article helped you learn how to make a webcam overlay or any other overlay.
The possibilities are numerous – there are programs and websites that can help you in the process and make sure that your content is relevant.
Don’t forget to check out the FAQ as well!
Frequently Asked Questions
How do you make an overlay for Twitch in Photoshop?
Making overlays in Photoshop is a bit tricky. The first thing you will have to do is add a blank canvas of proper dimensions. Then you will have to create separate layers for the upper and top banner, as well as for text, or any other elements you want to add.
Does Streamlabs have free overlays?
Yes, you can find different templates on SLOBS for overlays, and incorporating them into the streams is quite easy.
Where can I get free overlays for OBS?
There are numerous websites for free overlays. I would suggest OWN3D, as well as Nerdordie and Player.me. You could also use Canva.
What overlay should I use for Twitch?
This depends on what you want your audience to focus on. Alerts, chat, and webcam is basic ones, and you can add the one for ads/sponsorships as well.
How do you add an overlay to Twitch on OBS?
Adding overlays is super easy – just create a different scene and source for an overlay. When choosing the type of source, select Image and browse for it on your computer.
