Video editing is one of the most crucial yet complex aspects of creating TikTok videos.
I know this well, as I have been a creator on TikTok for nearly 3 years and have edited a significant number of TikTok videos during that time.
Here is how to edit your TikTok video:
Step 1: Pre-shooting editing
Editing begins at the shooting stage. You have to decide on the sound, video, and audio playback speed, add a timer, filter, or one of the visual effects.
Step 2: Post-shooting editing
Once you’re done recording your TikTok, you can trim it, adjust the sound level, add stickers and filters, and set a cover. Also, write the video description, including tags and callouts.
Recognizing that editing videos can be quite challenging, I have decided to write a text on this topic. In it, I will provide a step-by-step guide on how to edit TikTok videos, introduce various TikTok video editing apps and tools, and offer some helpful tips.
How to Edit TikTok Videos?
First of all, I must mention that TikTok offers in-app video editing tools to all its users, as well as some alternative video editing apps for TikTok.
Specifically, the TikTok video editor provides basic editing tools that can still assist you in achieving excellent editing results.
In this text, I will focus on showing you how to edit TikTok videos using the TikTok video editor. I will also mention some of the best third-party apps later on.

1. Open Your Camera on TikTok
First, open the app and click the “+” icon located at the bottom of your screen.
This button opens the camera, but are you prepared to begin recording the video?
Not yet.
2. Adjust Camera Settings
Before beginning to shoot, several camera adjustments can be made to create TikTok videos with stunning video quality.
These pre-shooting adjustments involve the following tools:
“Add a Sound” Button
As its name suggests, this is the button you use when you want to add music or sound before recording the video.
You can also add music or sound after the video has been recorded, so the choice of which option to use is yours.
Sometimes, people have a clear idea of the music or sound they want to include in their TikTok video even before recording it. However, there are times when one needs to draw inspiration from the video itself and then determine which sound or music would be the best fit.
If you choose to play music or add sound before shooting, TikTok offers a vast library of audio clips and music, along with a search option, ensuring you'll find suitable sounds.
Remember that adding sound is a crucial step, particularly when creating a music video.
The “Flip” Button
This button is used to switch from the rear camera to the front camera and vice versa.
It depends on whether you want to record a regular video or a selfie video.
The “Speed” Button
This button allows you to adjust the playback speed of your video and audio clip.
The video playback speed ranges from 0.1x to 3x, allowing you to capture both slow-motion and fast-motion video clips.
For those who are not familiar with this terminology and designations, “0.1x” indicates that the video is played or recorded ten times slower than the normal speed.
By analogy, “3x” indicates that the video plays at a speed three times faster than normal.
When adjusting video speed, be creative, as innovative speed adjustments can often result in the most entertaining videos.
“Filters” Button
By clicking this button, you will open TikTok’s filter library.
Filters effectively alter the color, brightness, contrast, and more of your TikTok video, and they are categorized into three sections: “Life,” “Portrait,” and “Vibe.”
The “Beauty” Button
By clicking the “Beauty” button, you can toggle the beauty mode on or off.
This filter is designed to enhance the photogenic quality of your face.
“Timer” Button
The “Timer” button lets you select the moment at which you want your video to stop recording.
The range is from 1 second to 3 minutes (as that is the limit regarding TikTok video length)
Afterward, you no longer need to hold the recording button; simply press the “Start Recording” button, and the video will automatically start and stop recording.
The “Flash” Button
This option enables you to turn the flash on or off based on your needs.
3. Adding Visual Effects
The next step is to add visual effects.
These effects are referred to as “pre-shooting” effects; however, visual effects, similar to sounds, can also be added after shooting.
The “Effects” button is positioned on the left side of the large red circle at the bottom of the app’s home screen.
The red circle mentioned above is the recording button, and you should tap it when you want to start shooting the video (without a timer).
On the right side of the circle, there is an upload button that allows you to select a new video to upload from your phone’s gallery.
When you press the “Effects” button, TikTok will open its effects library for you.
There, you can choose from a variety of visual effects that are categorized into several sections.
In my view, the “Trending” section is the most crucial one, as it showcases all the most popular visual effects. Every TikTok influencer will tell you that following TikTok trends is essential for success on this social platform.
4. Video Recording
Now you are ready to begin recording your TikTok video.
It can last up to 3 minutes, and you can record it by either tapping the record button or holding it down.
However, if you hold it, you can zoom in and out while recording by moving your finger up and down the screen.
If you are recording a video with multiple sections or clips, you can easily lift your finger off the record button or press it to stop recording.
The process remains the same as when shooting other video clips. If you are not satisfied with any part of your video, you can always delete it and start over.
5. Post-Shooting Editing
Once you have completed shooting a video, you should proceed to the post-shoot editing phase.
First, press the upload button (located on the right side of the record button) to proceed.
Now, the entire material you have recorded will be played on a loop.
Of course, there is a “Back” button that enables you to return to the previous page and the recording session.
However, if you are pleased with your recording, several video editing tools will be displayed on your screen:
The “Trim” Button
This button enables you to trim multiple videos or shorten them with just a few clicks.
“Mixer” Button
This button enables you to adjust the sound levels between the audio you added prior to the recording and the audio you recorded.
The “Select Sound” Button
If you haven't added a sound before shooting, you can do so now by tapping the "Select sound" button.
As I mentioned earlier, you can discover a wide variety of sounds in the TikTok sound library.
Additionally, you can record a voice-over for the video you’ve recorded by clicking the microphone icon, and you can choose from various voice effects to include.
“Effects” Button
We’ve experienced the effects during the pre-shooting stage, but we also encounter them in the post-shooting stage of TikTok video editing.
When you tap this button, a variety of effects will appear on your screen.
In addition, there will be a timeline for your video, allowing you to add effects to various segments of the recorded footage.
“Set Cover”
This button allows you to select the cover that other TikTok users will see when they encounter your TikTok video while scrolling through the For You Page.
Instead of displaying the first frame of your TikTok video, which can often be unappealing or strange, you can choose any cover you prefer.
“Filters” Button
The “Filters” button allows you to add filters to the video if you did not do so during the pre-recording stage.
“Stickers” Button
When you tap the “Stickers” button, the complete menu will open at the bottom of your screen.
In addition to adding stickers to your TikTok video, there are various other video editing options available.
I would like to emphasize the “Transition” option, which is used to adjust video transitions between segments of your video clip, and the “Split” option, which allows you to divide videos.
Once you have finished editing, click “Next”.
6. Adding a TikTok Video Description
This will be the final stage of the entire TikTok video editing process.
Here, you can provide a description of your TikTok video.
You can certainly include callouts and hashtags.
Furthermore, you need to decide whether the video will be public, visible only to your friends, or, perhaps, restricted to just you.
Additionally, you can enable or disable comments and duets.
Finally, at the bottom of the screen, there is a “Draft” button (for saving the video to Drafts) and a “Post” button for publishing the video.
Alternative TikTok Video Editing Apps
Although the in-app video editing tools provided by TikTok are quite good, some users prefer various other TikTok video editing apps and software.
I will mention only a few of them.
1. InShot
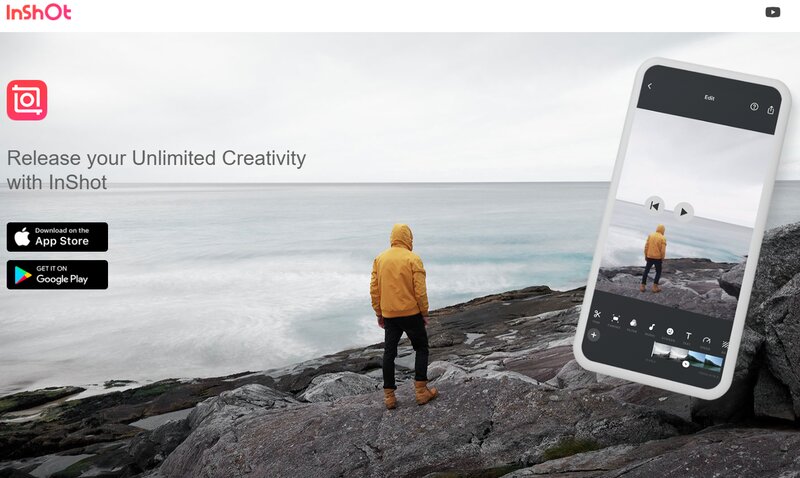
InShot is a video editing application that works on both iOS and Android devices.
It provides standard editing features, including visual and audio effects, various filters, and stickers. It is frequently marketed as a powerful video editor and, most importantly, a free video editor.
You can even import your own music and sound effects.
While InShot is an excellent video editing tool, I dislike the absence of a music library, which is certainly a drawback compared to other video editors.
2. CapCut
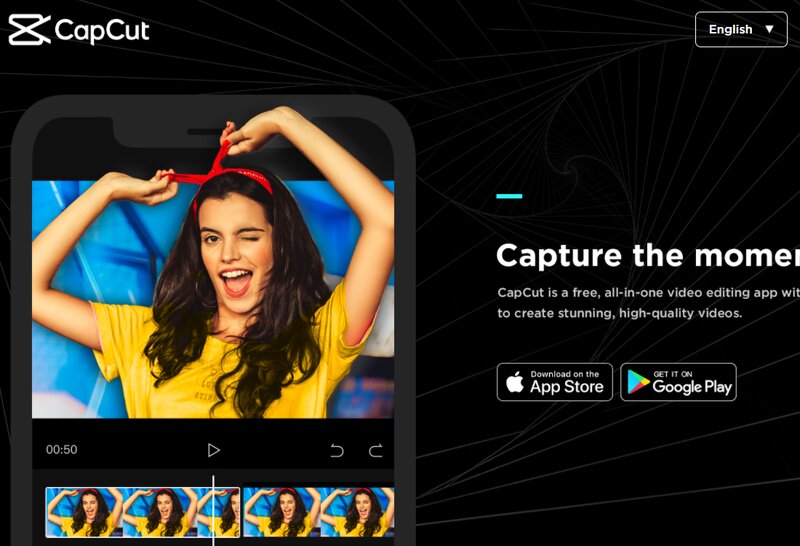
CapCut is a free application available for both Android and iOS devices.
Nearly all video editing apps resemble the TikTok editor, but CapCut is likely the app with the most comparable editing tools to those of TikTok, as it is owned by ByteDance, the parent company of TikTok.
Similar to TikTok, this video editing tool provides excellent video and sound effects, filters, stickers, and numerous other editing options, along with an extensive music library.
Finally, I am confident that you will create many stunning videos using this video maker.
3. Zoomerang
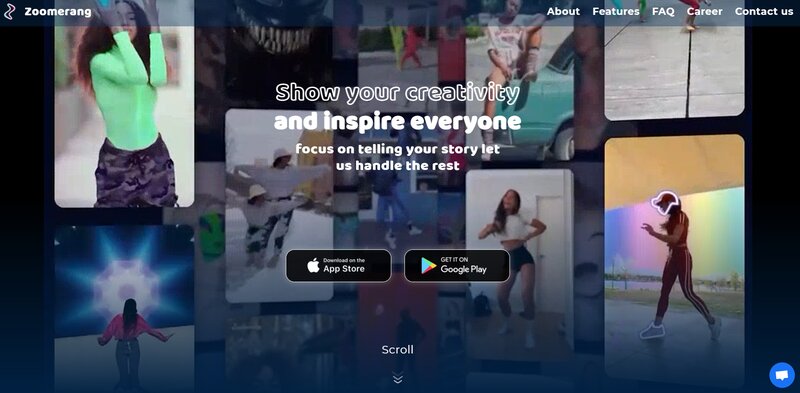
Zoomerang is a video editing app that is perfect for beginners and those with limited experience in TikTok video editing, as it offers numerous helpful tutorials.
In addition, this video editing app provides an excellent music library along with a variety of effects and filters for editing both audio and video files.
With this app, you can trim videos, cut, split, and merge clips, allowing you to edit videos to your preference.
Furthermore, the app features a well-developed music video community, and there is also a paid ad-free version of the app available.
Things to Remember When Editing Video Clips on TikTok
1. The Green Screen Effect is the Best
Once you use the green screen effect, you will enjoy it!
It enables you to transform your background into virtually anything you desire, which is why I consider it the best feature of any editing app.
This approach allows your creativity to be entirely unconstrained, enabling you to bring all your ideas to fruition.
2. Sound and captions are equally important
Many people believe that sound is the most crucial element of a TikTok video.
I agree that sound is very important, and in my opinion, TikTok creators should utilize sound effects even more than they currently do.
However, according to some research, more than 90% of TikTok users frequently watch their TikTok videos on mute or with very low sound.
Therefore, you must capture people's attention without relying on sound.
That’s why captions are just as important as sounds.
3. Add your preferred filters and effects to favorites
TikTok provides the option to save your favorite filters and effects.
If you ask me, this option is definitely worth using.
By doing so, all the filters and effects you frequently use will be readily available, eliminating the need to search for them each time you edit TikTok videos.
FAQ
Can I edit a TikTok video after posting?
Is it easy to edit videos on TikTok?
Should I delete a TikTok video?
Conclusion
When I decided to write this text, my goal was to assist those of you who are unfamiliar with video editing and those of you who lack much experience.
I hope I have succeeded in this, and I recommend this text to anyone interested in creating content on TikTok.
In addition to learning about various video editing software and editing apps, this text provides a comprehensive guide along with useful information and tips, covering everything you need to begin editing a TikTok video.