Most people think that having several social media accounts and being a TikTok influencer is easy.
Record a video, post it, and wait for people to like, share, and comment.
Then become a partner with some brand, advertise it, and earn money.
If you cannot post your TikTok videos every day, you can use the TikTok scheduler to post videos for you. To use the TikTok scheduler, you will need a Pro account.
How to Use TikTok Scheduler?
1. Go to TikTok.com and login to your account
2. Click on the cloud icon
3. Upload your video
4. Turn the schedule button on and pick a date and time when you want your video to be posted (pay attention to your timezone)
5. Click “Schedule”
How To Switch to a Pro Account on TikTok?
1. Open the app and press the “Me” button.
2. Click on the three horizontal lines icon
3. Choose the “Manage my account” option from the drop-down menu
4. Click the “Switch to Pro account” button.
5. Choose the account type
However, is it that easy?
From my perspective, not at all.
You need to have inspiration all the time in order to post quality TikTok videos and creative content regularly for your target audience.
But, what if, for some reason, you are not able to record and post TikTok videos every day or every other day?
Luckily, TikTok has offered a great solution.
It’s called TikTok scheduler.
What Is TikTok Scheduler?
Many content creators on TikTok will tell you that sometimes they have some other important things to do and simply cannot physically manage to create content and then post it.
Or perhaps they travel somewhere and would like to enjoy their time and rest, instead of posting TikTok videos.
Well, the good news is that they can create a bunch of videos one day and then simply schedule a post using TikTok scheduler.
So, the TikTok scheduler allows users to create a number of TikTok videos, then schedule those videos and posts and do something else for some time since those TikTok videos will be posted automatically.
Thus, there’s no need to pay attention to your TikTok profile all the time, the scheduler does all the work.
TikTok posts can be scheduled from 15 minutes to 10 days in advance and this relatively new feature can certainly make Tiktokers’ life easier even if they have to manage multiple accounts on this social media platform.
However, only creators who have TikTok Pro accounts can utilize this feature.
TikTok Pro accounts include Creator and Business accounts, so those with regular accounts, unfortunately, cannot use the TikTok scheduler.
Nevertheless, the process of converting a regular account to a Pro account is very simple and it can be performed in a couple of easy steps.

Step 1
Open the TikTok app and find and press the “Me” button.
It’s located in the bottom right corner of your screen.
Step 2
In the right-hand corner of the screen, you’ll notice the three horizontal lines icon.
Click it.
Step 3
The drop-down menu will appear.
Then select the “Manage my account” option from the menu.
Step 4
Click the “Switch to Pro account” button.
Step 5
Finally, choose the account type.
A Creator account option if you are a content creator, an influencer, a public figure, or an artist, or a Business account if you have a brand, run an organization, or are a service provider or a retailer.
Step 6
After that, you just need to provide some information about the type of TikTok content that you create and click “Done” and the conversion from a regular account to a Pro account shall be completed.
Then you’ll be ready to use the TikTok scheduler.
But, the question is how?
How to Schedule TikTok Posts?
TikTok scheduler is quite easy to use and doesn’t require any special knowledge or skills.
Nevertheless, for all those who yet aren’t sure how to use this feature, I have prepared a brief step-by-step explanation.
Step 1
Open your web browser and go to TikTok.com.
Step 2
Log in to your TikTok account.
Step 3
On your home page or Feed, if you want, you’ll see a cloud icon in the top right corner of your screen.
Click that icon.
Step 4
Then the upload video page will open.
There you get to upload your video, choose who can see it, add captions and hashtags, and set the cover image and privacy settings.
Privacy settings include whether the comments will be allowed or not and whether other TikTok users will be able to duet your video.
Step 5
After that, turn the schedule button on and pick a date and time when you want your video to be posted.
Keep in mind that the time zone will be set in accordance with the time zone on your computer.
Step 6
Finally, click “Schedule” and your post will be scheduled.
All your scheduled posts alongside drafts will be visible in the Profile view.
Note that after you’ve scheduled a post you won’t be able to edit it anymore.
In case you want to edit something regarding a scheduled post, you’ll be able to cancel the schedule, edit what needs to be edited, and then re-upload it and schedule it again.
When your video gets posted, you’ll receive a push notification to inform you of it.
Alternative TikTok Scheduling Tools
If for some reason, you cannot or simply don’t want to use the TikTok scheduler, some alternative scheduling tools can be used instead of it.
There are several alternative TikTok schedulers, but I have decided to present you with two of them that I consider the best.
However, before opting for any of them, have in mind that only the TikTok scheduler is free and that you’ll need to pay to use any of the alternatives that I’ve mentioned below.
1. Planly
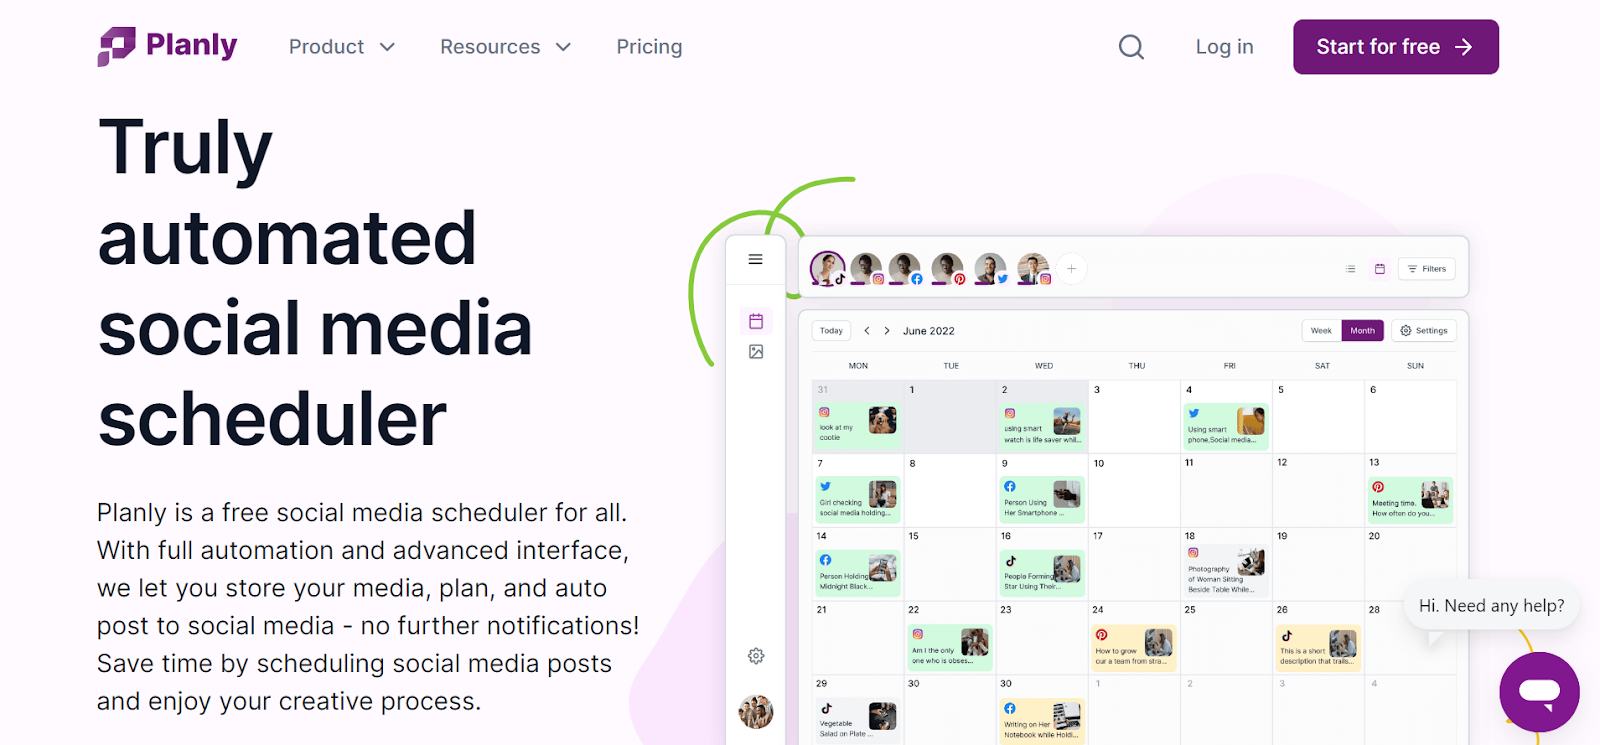
Planly is a social media scheduler that allows you to schedule posts to multiple social media platforms at the same time. Planly is a freemium social media scheduler.
With an advanced interface and user-friendly, post-scheduling is relatively easy and convenient.
Differences from other social media scheduling tools are Instagram posts, carousels, reels, and TikTok videos auto-publish in Planly without a further push notification.
To schedule TikTok videos on Planly, you can do it by following the steps mentioned below.
Step 1
Sign up and create an account at planly.com for free. You start with a free account first. Then you can choose the plan you want according to your needs and wishes. Please note that in the free plan, you can add two social channels and schedule 50 posts for each.
Step 2
By clicking the “Add to Social Channel” button, you select TikTok.
Step 3
You can add your TikTok account to your Planly account in two ways: QR Code and Extension.
Step 4
If you want to add TikTok with a QR Code in the TikTok app, enter the icon in the upper left corner of your account, and use the QR Code reader there to read the code given to you in Planly. Here it is! Your TikTok account is ready.
Step 5
If you want to log in with an extension, you need to download Planly's extension. Then, you can log in to your TikTok account and confirm.
Step 6
To schedule a new video, first, upload the videos you want to share to Planly's unlimited Media library. You can also upload videos from Unsplash, Dropbox, and Google Drive.
Step 7
By clicking on the “New Schedule” button, you select the TikTok channel.
Step 8
Select the video you want to schedule from the “Media Library”
Step 9
Next, you can choose whether or not to allow or disable the post description, whether the video is a duet or a stitch. Mark whether you want to share the video publicly, with friends, or in private.
Step 10
Mark the date you want the video to be shared, or you can share immediately by marking share immediately.
Step 11
You can schedule your video by clicking the “Schedule” button. You will no longer receive any notifications. Planly will auto-post your TikTok videos for you.
2. Metricool
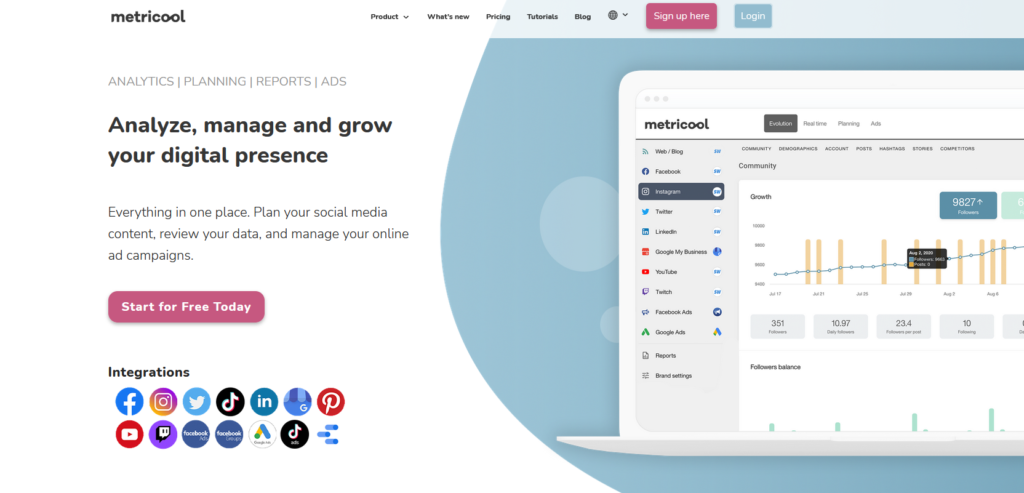
Metricool is an all-in-one digital tool to analyze and manage your social media and advertising platforms. Also, you can schedule your content on multiple social media platforms, including TikTok.
You can use Metricool from the desktop or on the go with the mobile app available on iOS and Android.
Metricool is a TikTok authorized tool for scheduling videos. The video posting process is semi-automatic. This means that when the time to post comes, Metricool sends a notification to your mobile device when the video is ready to post in your TikTok account.
You will be in charge of giving the final touches and hitting the post button from the TikTok app. Let's see the process in more detail:
Step 1
Sign up with Metricool.
Step 2
Connect your TikTok account from the connection dashboard and go to the planning tab.
Step 3
Click on Create New Post to attach your recorded video.
Bear in mind these specs: 50MB max., MP4 format (if you upload it in MOV, Metricool will transform it for you), resolution above 540p, and duration between 3 and 60 seconds.
Step 4
Choose the date and time you want to post your video, and add a copy and the hashtags (Metricool has a hashtag search engine to find the right ones for your content).
Step 5
When it's time to publish, you will receive three notifications:
-Two from the TikTok app, letting you know that a video is processing and another that the video is ready for posting.
-One notification from Metricool, informing you that it's time to post your video: it will include the text to paste into your post and direct access to the TikTok app.
Step 6
Once on the TikTok app, click on the notification "Your video from Metricool is ready: Edit your video before sharing to TikTok." Edit your video with music, filters, text, cover image, etc., and click Publish. Done!
3. SocialPilot

SocialPilot is a TikTok scheduling tool similar to TikTok scheduler.
It can be connected not only with TikTok accounts, but also with other social media accounts such as Facebook, Twitter, Instagram, LinkedIn, Pinterest, and Tumblr accounts.
Additionally, SocialPilot offers multiple ways for scheduling content including a browser extension, an iOS app, and an Android app.
SocialPilot doesn’t offer a free plan, so if you opt for this scheduling tool it costs $30 per month.
However, if you decide to pay annually, it costs $25 per month.
Given that scheduling posts using Social Pilot is a bit different than with TikTok scheduler I have decided to include a simple step-by-step TikTok scheduling guide.
Step 1
The first thing you need to do is to download the SocialPilot mobile app either on your iOS or Android mobile device and log in to your SocialPilot account.
Step 2
After you’ve opened the app, click on the “Accounts” button, choose the “Connect Account” option, and select TikTok.
Step 3
Then click “Post” and after that “Create Post” buttons.
Step 4
Press the Camera icon if you wish to upload images from your device or share the images’ URL.
If you want to upload videos, press the Video icon.
Step 5
Then select your TikTok profile and choose either “Add to the queue” or any other scheduling option from the drop-down menu.
Keep in mind that several criteria have to be met before your image or video can be scheduled and eventually posted.
Step 6
When the time that you’ve previously scheduled comes, you’ll receive a notification.
Keep in mind that you have to be logged in to your SocialPilot profile.
Otherwise, you will miss the notification.
And since the post won’t be posted automatically like with the TikTok scheduler, it’s essential that you don’t miss the notification.
Nevertheless, if you still miss it, don’t despair, it’s not the end of the world.
Just open the SocialPilot app, open the sidebar, and choose the “Reminders” option.
There you’ll find your notification in the “Scheduled Posts” tab.
Step 7
After you open your notification, click the “Share” button.
Step 8
Your post will then be opened in the SocialPilot app.
Click the “Share” button on the bottom part of the screen.
Step 9
After you’ve done that, you’ll see a pop-up window.
There you have to confirm that you have selected the right TikTok profile by choosing the “Yes, I am” option.
Step 10
Your post will then open in the TikTok social media app where you’ll be able to do the editing.
Press “Next” when you are finished.
Step 11
Finally, press and hold the caption text box for a couple of settings and then click “Paste” from a pop-up window.
Then click “Post” and your scheduled video or image will be posted.
4. Loomly
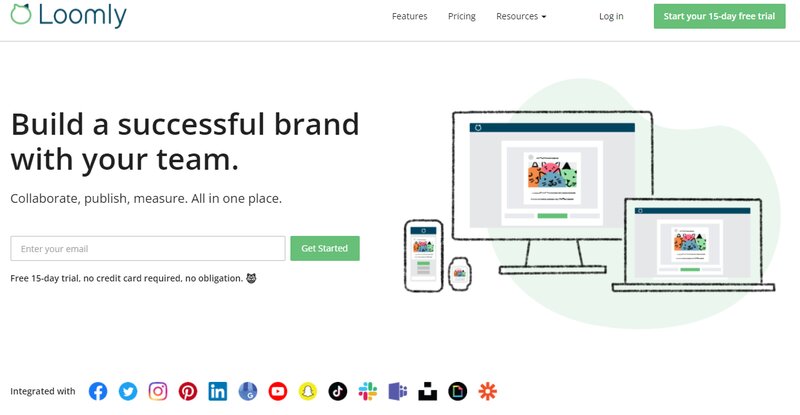
Loomly is another social media tool and, just like with SocialPilot, with Loomly you can schedule videos and multiple posts for various social media platforms.
Loomly’s is compatible with both iOS and Android and its price is $25 per month.
Since with Loomly, a scheduled post isn’t going to be posted automatically, but manually, I’ll break down the process of TikTok scheduling using Loomly to make it easier for you.
Step 1
First, download the Loomly app and create a Loomly account.
Step 2
Open the app and open the “Social Accounts” section.
There find TikTok on the list of apps and click “Connect”.
Step 3
A pop-up window will appear.
There you have to enter your TikTok user name and click “Connect Account”.
Step 4
After you’ve successfully connected your TikTok account, open the Loomly app again.
Open the dashboard and select the “New Post” option.
Step 5
Then choose the calendar you wish to use and click “Build Post”.
On the left side of the page that appears, you can set the date and time when you want your post to be published.
On the right side of the same page, Loomly added some cool features called “Loomly Ideas” and “Loomly Inspiration”.
As the name says, there you can find some nice ideas for your social media content that you can use.
After you are finished, click “Next”.
Step 6
One more time select the social network where you want to publish your post.
In this case, choose TikTok.
Step 7
The next step would be to add some hashtags and additional messages to your post.
Then you can do some editing, create the final version of your image or video, and prepare it for posting.
Click “Next” when you’re done.
Step 8
Then you can choose whether you want to schedule the post, save it as a draft, submit it for approval, or post it immediately.
Since we’re covering the scheduling option, click “Schedule”.
Step 9
When the time for posting comes you’ll get a notification on your phone as well as via e-mail.
Apart from these two options, you can also get notified via Microsoft Teams or Slack.
Step 10
When you open the notification, your post will open in Loomly.
Click “Publish to TikTok” and then paste the copy of your post, previously saved on the clipboard of your phone, into the TikTok post space, and click “Post”.
Why Should TikTok Creators Schedule Their Posts?
I have already said in the introduction that being a TikTok creator and influencer is not easy.
Many TikTok creators are teenagers and adolescents.
They all go to schools or faculties and have many obligations.
On the other hand, there are also adults who have some regular jobs and everyday obligations just like any other person.
Many TikTokers have multiple TikTok accounts and other social media accounts where they post their content.
And when you have multiple accounts on social media or even only multiple TikTok accounts, that’s not easy to handle.
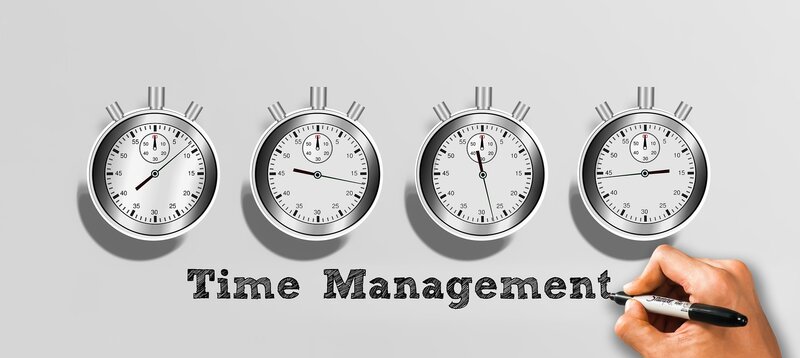
Regular posting is one of the most important criteria that any content creator has to meet if he or she wants to become successful.
So, instead of forgetting or not having time to post content, creators can simply use their free time, schedule TikTok videos, and commit to other obligations.
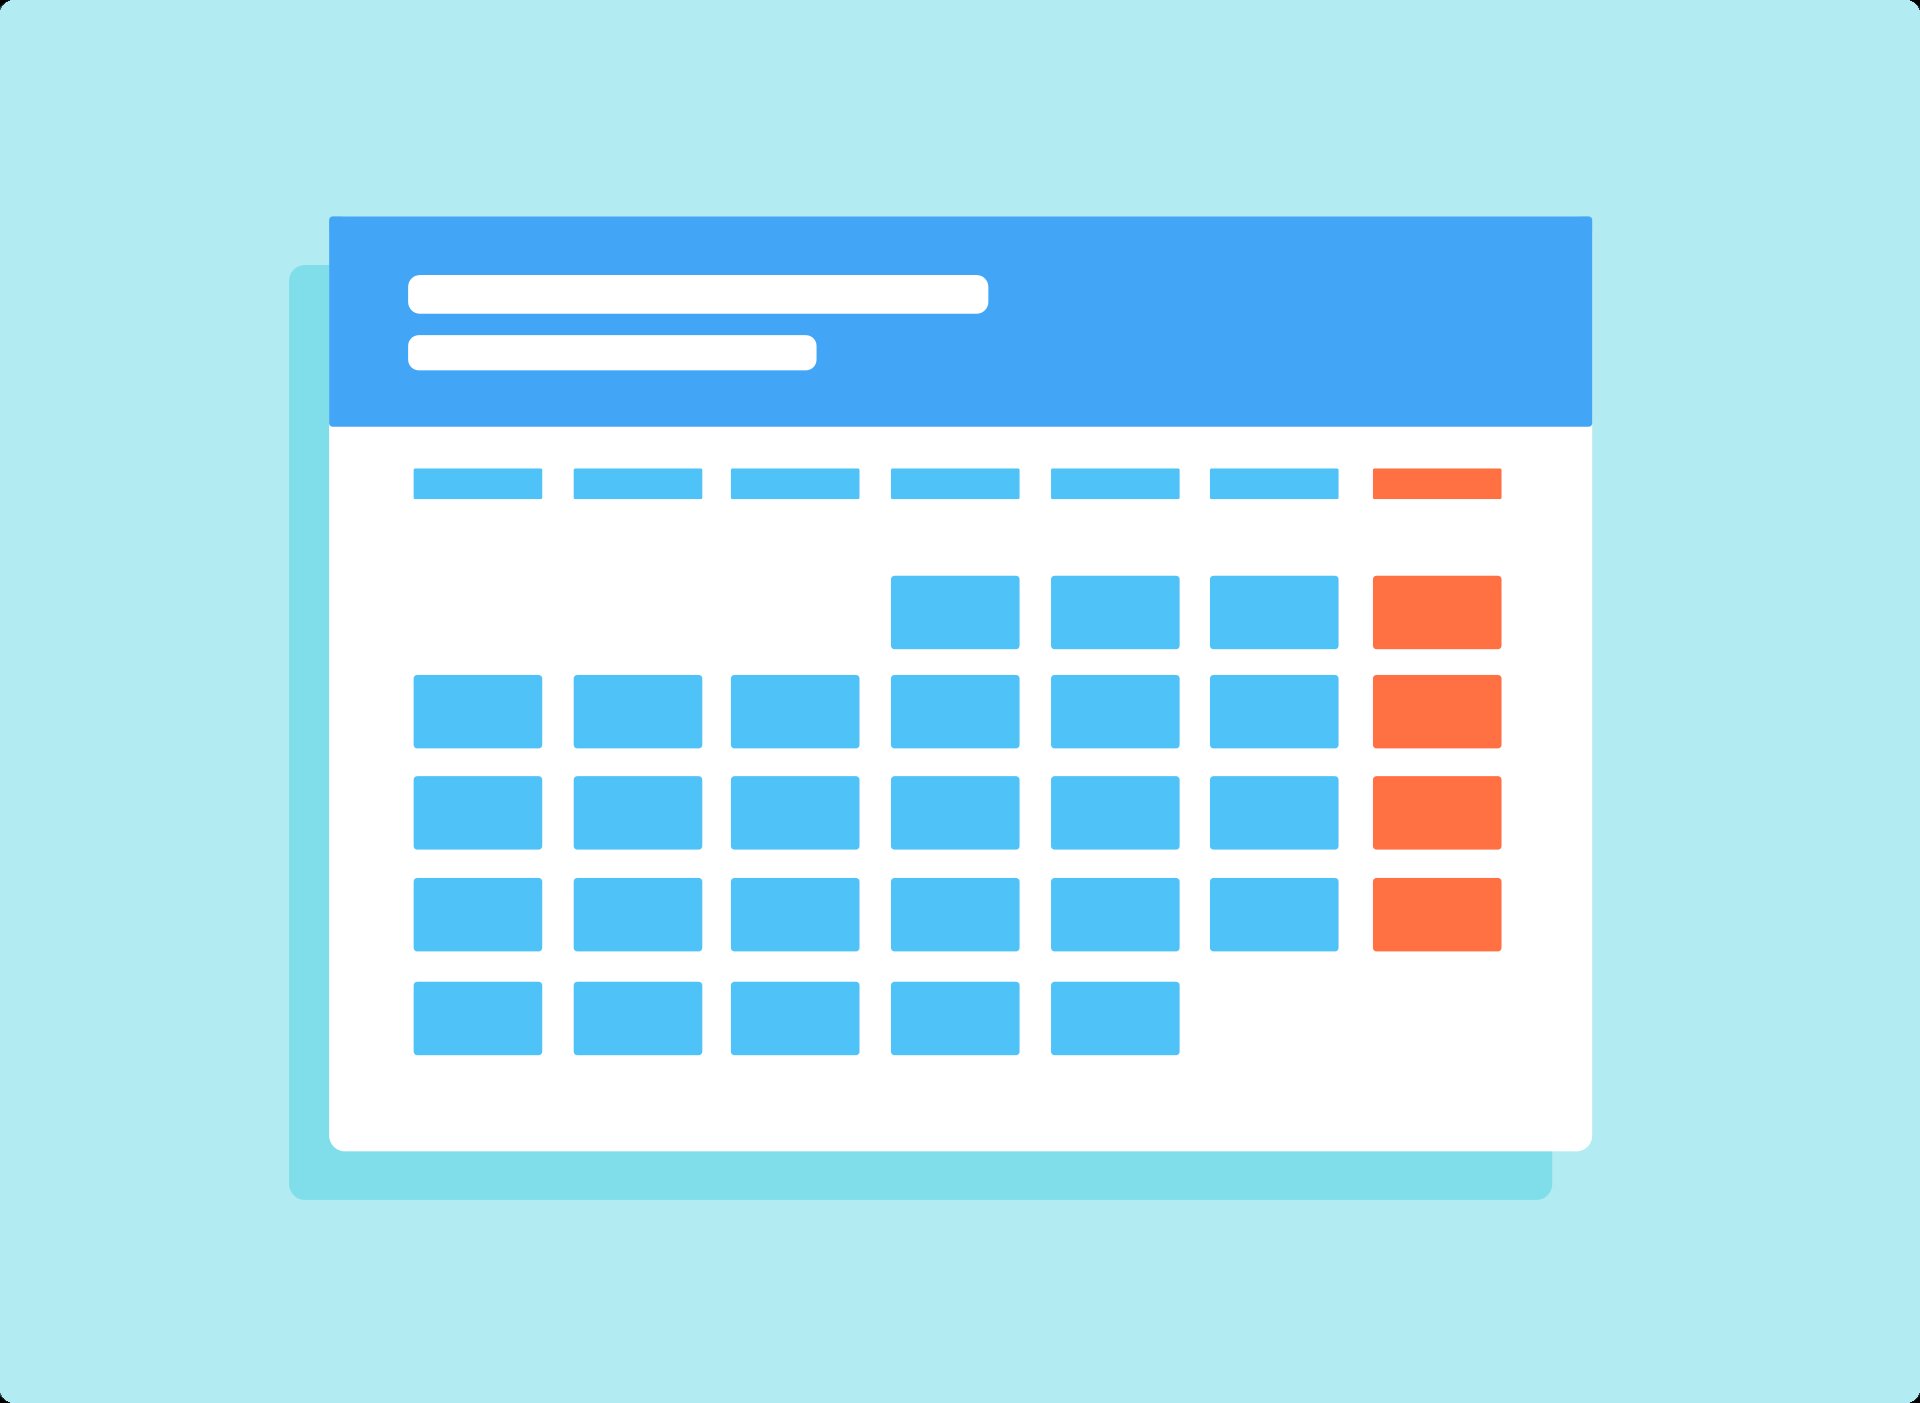
Apart from posting the content automatically, instead of manually, the TikTok scheduler also allows its users to make a good plan and a good strategy and organize their content calendar and the scheduling in accordance with them.
To sum up, the TikTok scheduler allows you to manage multiple accounts, organize your future posts, create the content calendar, implement your content and marketing strategy, save time, do everything that needs to be done in advance, and then just wait for results to come.
Conclusion
In my opinion, the TikTok scheduler is one of the greatest features of this social media platform.
It makes creators’ life much easier and lets them enjoy using TikTok instead of making them feel obliged and under pressure.
Even though I have included some alternative TikTok schedulers in the text, I still think that the TikTok scheduler is the best TikTok scheduling tool.
Not only because it’s free, but also because it’s the easiest to use.