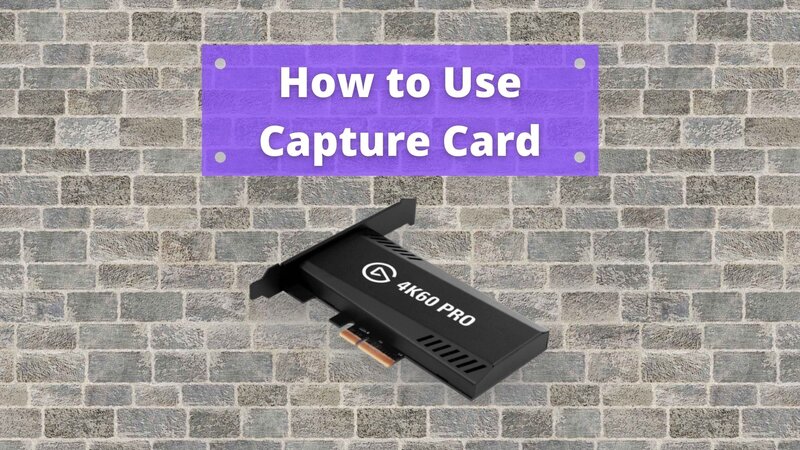
If you have just set up your system and purchased a capture card that you believe is compatible with your device, you will certainly want to maximize the potential of this device.
If you have never used a capture card before and want to ensure it will work well for you, be sure to check out our guide to learn how to install and use it.
Table of Contents
How to Use a Capture Card on a Console?
If you are a fan of video game consoles and this is your preferred video capture device, I believe you will find it much easier to locate the right capture cards for them.
The setup process is exactly the same on your Nintendo Switch or Playstation 5 game console. Once you complete the hardware setup, you will be able to use a capture card and stream everything without any issues.
If you are using an internal capture card, the process should be even more straightforward; all you need to do is complete the HDCP encryption and the required capture software.
After that, you will be able to capture footage and even share your screen on your streaming PC.
However, some newer devices, such as the Nintendo Switch or PlayStation, may require a second HDMI cable for the capture device options to function properly.
You can also attempt to connect it to a streaming computer to check everything and confirm that you don’t require any additional external capture cards.
Using a capture card is relatively straightforward, particularly if you are using one of the newer devices. Regardless of the type of capture card you select, a console should be compatible with all capture card software available.
I believe it is always better to get a console and select an external capture card for your device, as you can easily connect them via a USB port or simply use a portable USB capture card for on-the-go use.
Game capture cards are always a worthwhile investment, so ensure you understand what you are purchasing and read reviews for all options before making your final decision.
How to Use a Capture Card on PC?
Most gaming PCs use an internal capture card, which is typically the best option for them.
They are integrated into the desktop PC, so you won’t need to do anything to set them up; however, most people do not choose to use these devices.

If you have invested in an external capture card, you will certainly want to learn how to connect it to your device using a USB cable or HDMI cable.
This is the simplest method to set up your capture card:
Setting Up the Capture Card
However, this does not mean that your capture card will begin functioning automatically the moment you install it.
You must ensure that all the settings on your PC are configured correctly so that you can begin video streaming without any issues.
If you want to start streaming, you need to open your Display settings and ensure that you can duplicate the screen.
This feature is essential; without activating it, you will not be able to obtain a streaming PC, regardless of your efforts.
You will also need to begin by sharing your screen first, and you can start streaming for yourself to check if you can play games without any obstacles this way.
If you cannot duplicate your display, it is likely that you either did not connect a capture card using the correct software or did not insert it into the PCI-E slot properly.
Choosing the Streaming Software
Additionally, if your streaming software is not compatible, you will be unable to share any content from your video capture card.
Some capture cards come with streaming software, so you will need to download it to your gaming PC if you wish to begin video game streaming.
For that reason, if you are purchasing an external capture card, ensure you verify all of this before spending your money.
If you want to begin video recording or streaming from your PC or any external device, you must have the streaming software activated simultaneously with your browser or Twitch server.
However, if you prefer to avoid struggles like this, I always recommend getting a device with an internal capture card, as this way, you won’t have to worry about anything.
