Streamlabs is one of the most practical streaming software. It has a simple interface, and as you probably know, many recording modes. You can capture the gameplay, record what is happening on your desktop or in one of the open tabs.
Streamlabs Recording
- Audio – click on the cog icon in the bottom left, go to audio, and pick the microphone you want to use.
- Video – click on the cog again, and choose video. Set your base resolution to be the same as your monitor resolution. For output resolution choose the highest quality (if it’s not performing well at these settings, lower output resolution slightly.)
- FPS – if you’re playing an active game, choose 60fps, and if you’re playing something simple (like a puzzle or a board game), 30fps is just okay.
- Recording format – mp4 is usually the best
So, how to record with Streamlabs OBS?
This time I will get into details about the best Streamlabs recording settings so that you can adjust them to create quality content.
Let’s begin!
Table of Contents
Streamlabs OBS Audio Settings
Audio Tracks and More
Firstly, let’s talk about the OBS audio settings.
Without the clear tone, the quality of the video won’t matter much – viewers want to hear your comments while they are watching the stream, so it is important to learn how to capture the clear tone.
Before you start optimizing the Streamlabs settings, make sure that all external devices (microphone or speakers you plan on using) are connected and recognized by SLOBS.
Don’t know how to connect these devices and software? Here are the steps:
- Open the Settings tab and go to Audio settings.
- You will see options to add either desktop audio or microphone device. If the device is properly connected, SLOBS will recognize it.
- Select the device and exit the Audio settings.
Whenever you want to add another device or just switch from one to another, follow the steps above.
Also, in the same way, you can add audio from the game.
Now, let’s move on to the settings.
Audio tracks
SLOBS allows you to link audio inputs and tracks – for example, desktop audio or game audio is one track, while speakers and microphones are on the separate ones.
These audio inputs and separate tracks will help you with later editing.
Here is how you can add them:
- Tap on the gear icon in the Audio mixer to open advanced settings for audio.
- SLOBS has six tracks and all of them should be selected – this is a default setting and it means that audio inputs from these six tracks are mixed. Change the track for each input.
- Close these settings, open the Settings tab and select Output settings.
- Choose the Recording tab in Output, and find Audio. Tick the box next to tracks you’ve selected previously.
Now, game audio won’t be mixed with the sound from the microphone – audios are recorded separately, so it is easier to edit the recording.
Video Settings for Streamlabs OBS Recording
Resolution and Downscale Filter
Moving on to video settings – if you tweak these properly, the video quality will be unmatchable.
These Streamlabs settings are located in a separate tab in the Settings menu. Open it so we can begin adjusting them.
1. Resolution
Firstly, let’s talk about resolution.
There are two resolutions – base and output.
The first one is the resolution of the canvas, overlays, and can be a bit higher. It is best to choose one that matches the desktop resolution.
Output resolution only matters for recording, so once you switch to streaming, you can change it.
Once again, choose the highest one that your computer can support.
In most cases, for 1080p canvas resolution, the output resolution will be 720p.
The only way to check whether you’ve picked the right resolution is by recording the game.
If the computer slows down, change it.
2. Downscale filter and FPS
There are a few options for downscale filters and Lanczos is the best for recording.
The CPU usage will be slightly higher, but the quality of the videos is amazing.
QUICK OVERVIEW: Best CPU
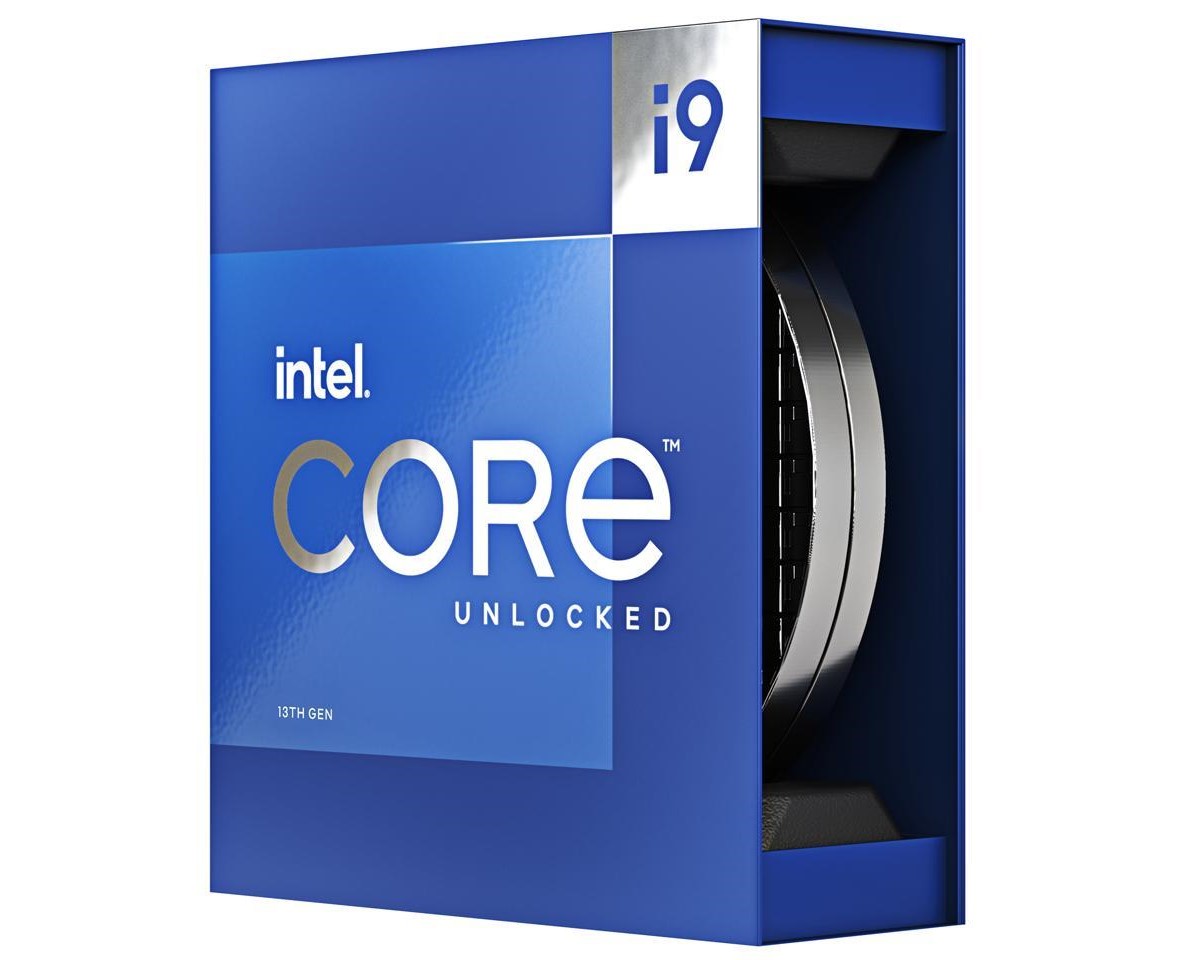
 | Top Pick Intel Core i9-13900K
| |
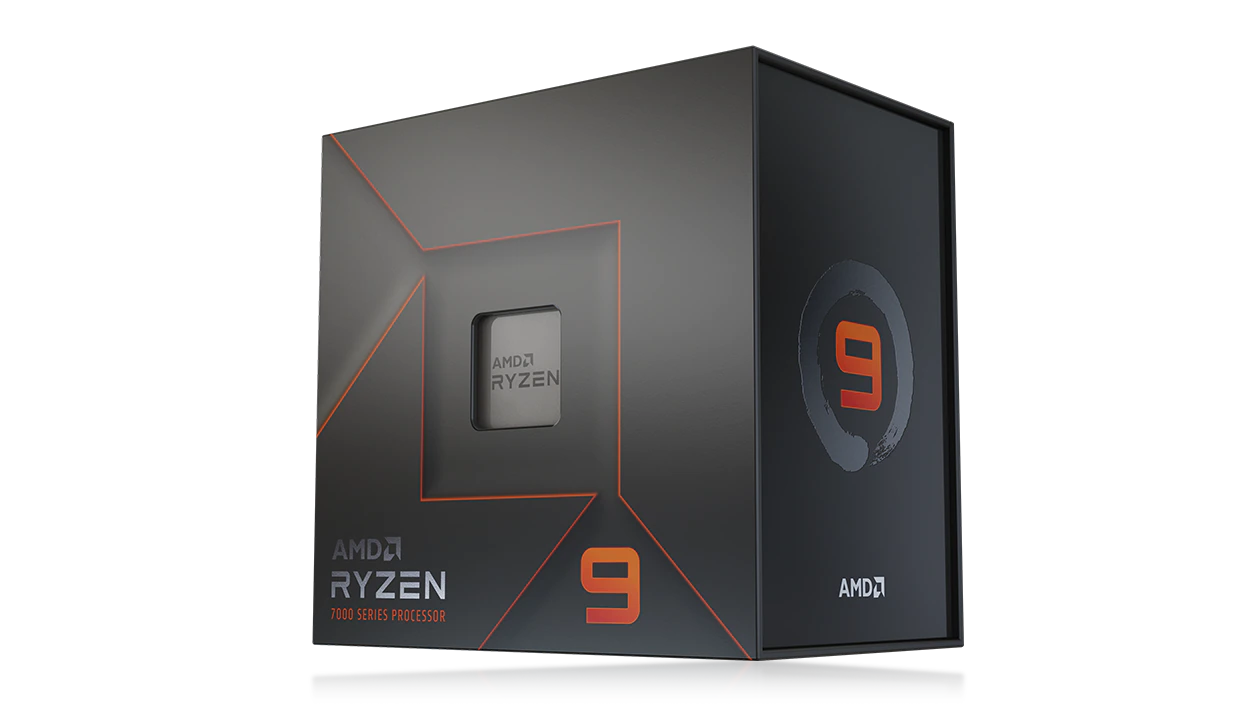
 | AMD Ryzen 9 7950X
| |
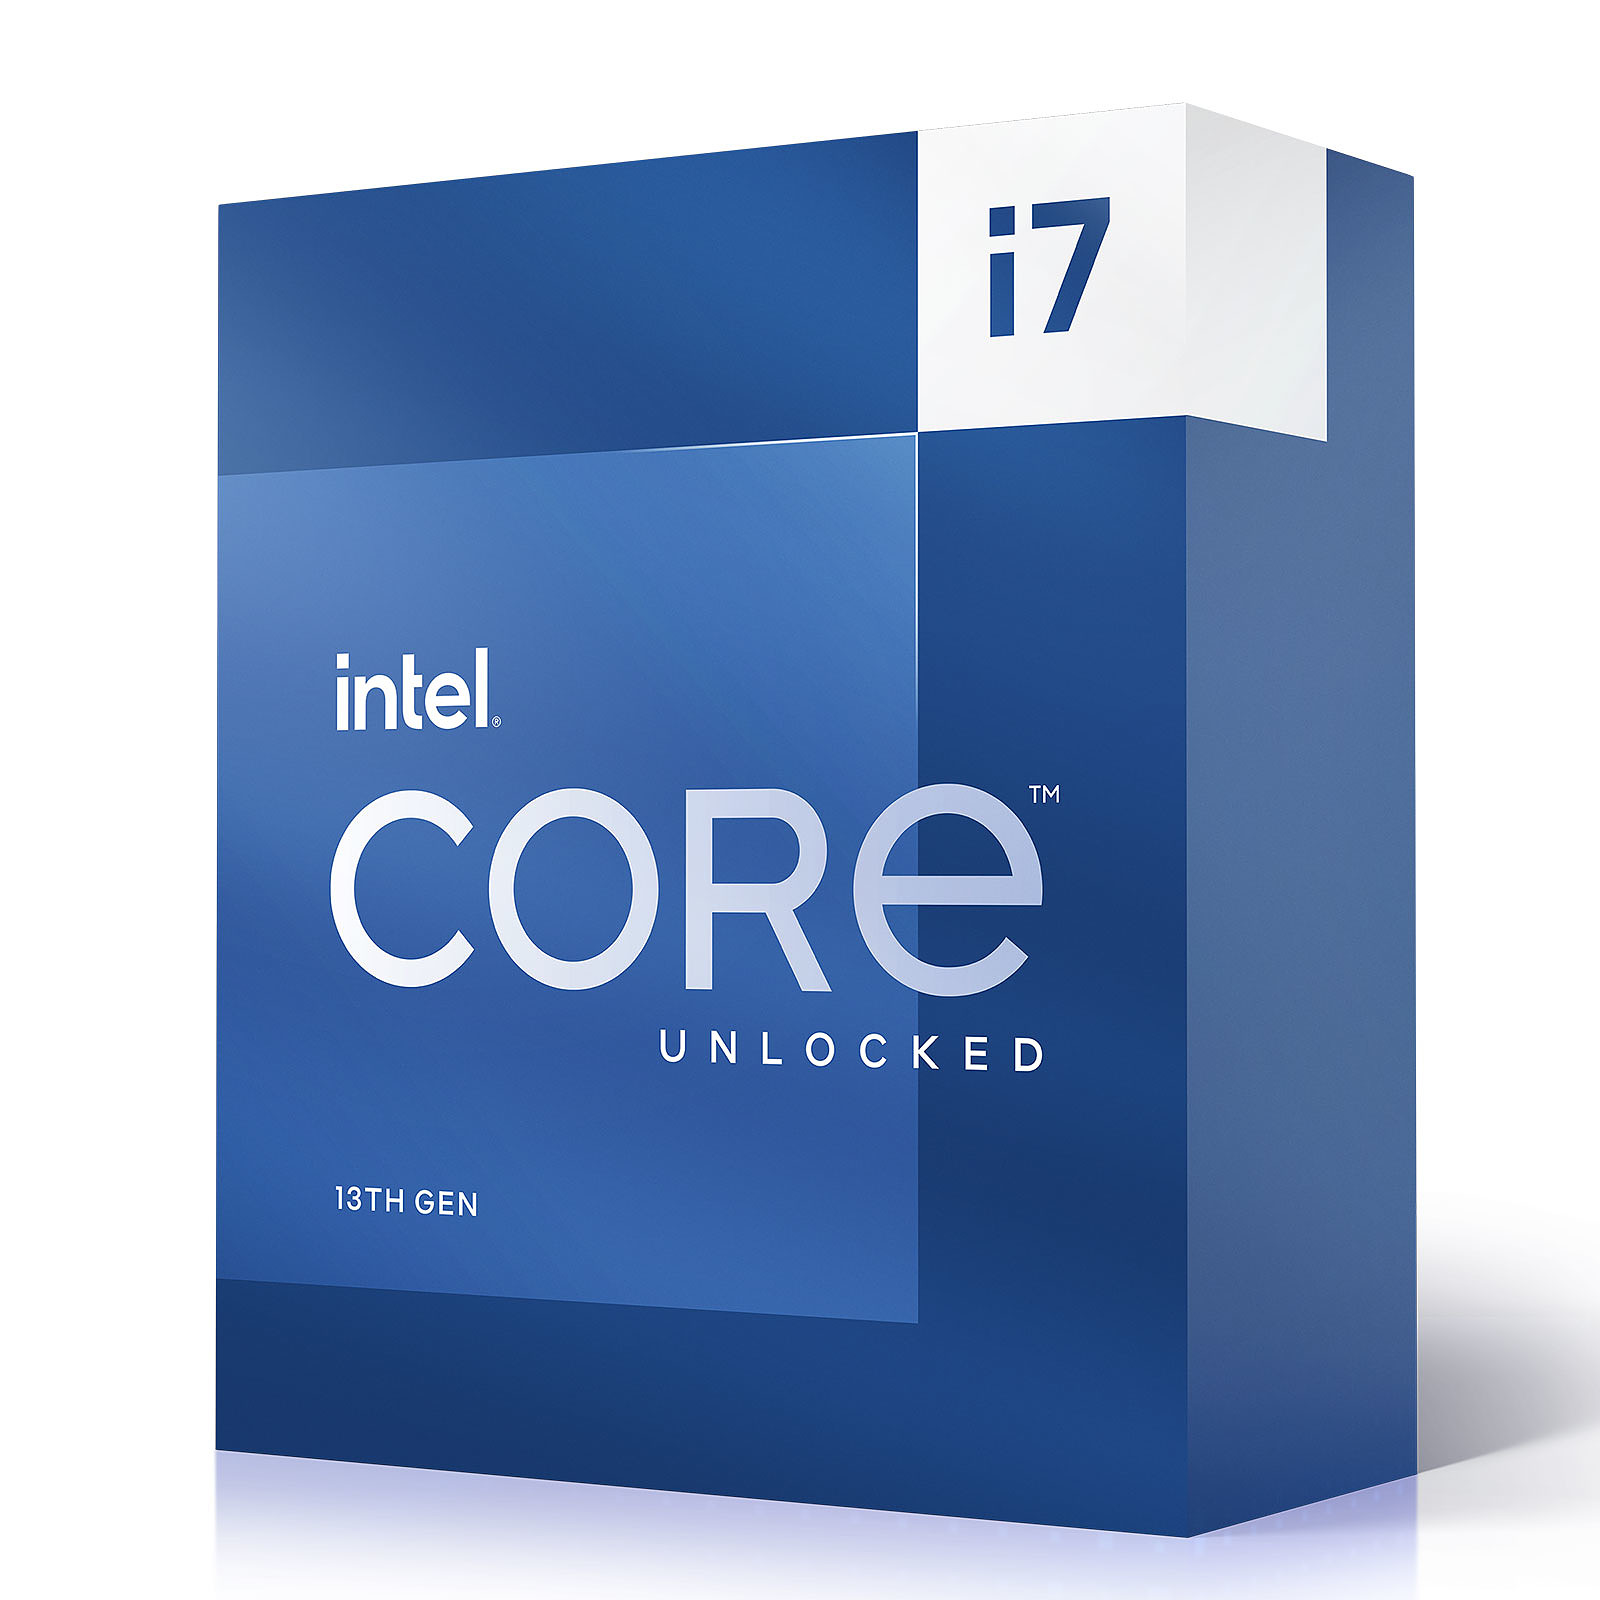
 | Intel Core i7-13700K
|
In general, you should capture as many frames as you can. In some cases, FPS can be lower.
Proper FPS value will depend on the type of game.
So, if you are recording the gameplay of a static game, you don’t need to go above 30 FPS.
For more dynamic games, try 60 FPS.
Streamlabs OBS Output Settings
Encoder Options, Profiles, Presets, and More
Output settings are located just above the Video and Audio in the Settings menu.
Open this tab, and for Mode, set Advanced.
Then open a tab for Recording.
The first setting is Type – choose Standard.
Now, let’s talk about other output settings.
1. Recording path, format, and encoder
Where does OBS save recordings?
You get to set the Streamlabs OBS recording location.
Click on Browse next to the Recording path to pick the destination for all recordings.
If you want, you can test recording in different formats – I recommend mp4.
There are two encoders – software and hardware.
The software encoder is using a CPU, while the hardware is relying on NVENC for encoding the videos.
Which to pick? Well, if you own an NVIDIA graphics card, always choose NVENC. Others can stick with a software encoder.
2. Rate control
Rate control should be set by the encoder.
In most cases, you can use CQP, because it keeps the video’s quality constant and controls the compression.
Gamers with NVIDIA and NVENC should use GRF.
3. CQ Level
The recommended CQ level is 17, so set it to this value and record a short video.
Then set a lower or higher value to see whether something changed.
Typically, higher values mean more compression and not so good quality.
In contrast, with lower values, you get better quality.
4. Presets
For presets, select “Max Quality”.
There shouldn’t be any performance issues. Test it out – if something is off, change this setting.
5. Profile
The profile should be set on “High” by default. If it is not, do it manually.
This setting should cause any issues either.
How to Record with Streamlabs OBS – Testing Performance
Now, you can open the Task Manager to check the performance.
Open the game and Streamlabs, and start recording. Track the CPU usage to make sure that the computer isn’t struggling.
If the utilization is too high, then go back and adjust the SLOBS settings.
