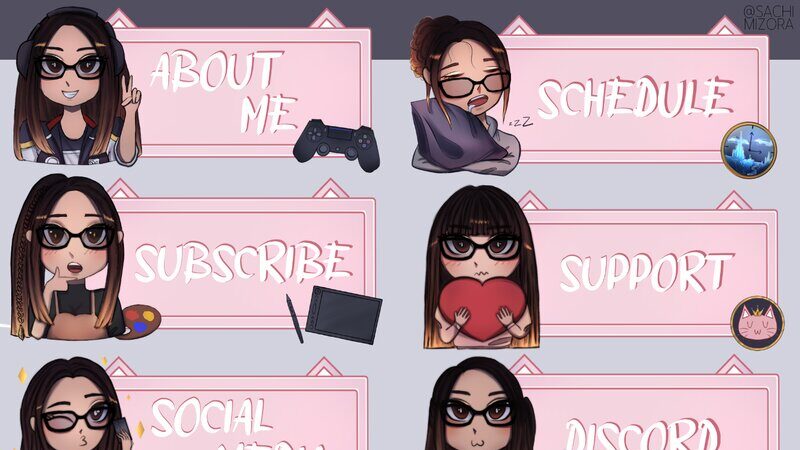
Since Twitch panels are the first thing people notice when they consider giving your channel a chance, it is wise to interact with and engage your current and potential audience in a way that piques their interest in your work.
In this article, I'll go through step by step explanation of how to add panels on Twitch.
1. Log in to your Twitch account;
2. Click your avatar and go to your channel page;
3. Go to About tab;
4. Enable Edit Panels;
5. Click "+" button to see additional options;
6. Insert text or image;
7. Add panel title, description, and image URL;
8. Save and review changes;
I will also discuss the top panel providers and address a few more common questions you may have on this topic later in the text.
How to Add Panels to Your Twitch Channel
But first, a brief explanation of what these image panels are. Twitch panels are graphics displayed on the About page of your Twitch channel.
They are generally intended to segment essential information about your identity and activities on your channel for any interested visitors, create surveys for viewers, and more.
Adding panels is a relatively simple operation. Below, I will provide a step-by-step explanation of how to accomplish this quickly and efficiently.
Step 1: Log In to Twitch
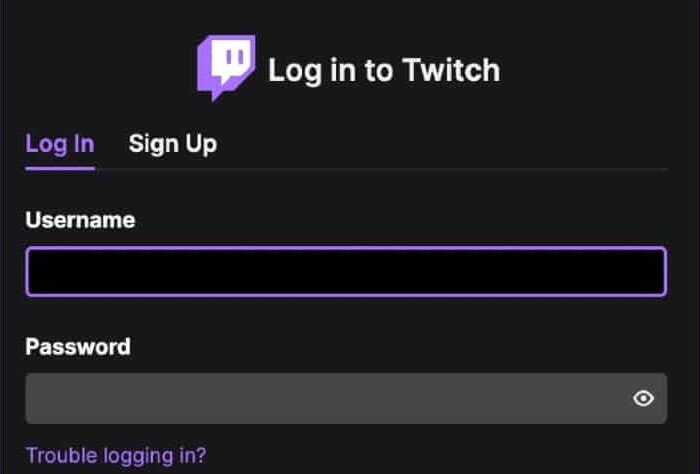
The first and most obvious step is to log in to your Twitch account to access additional options.
Step 2: Navigate to Your Channel Page
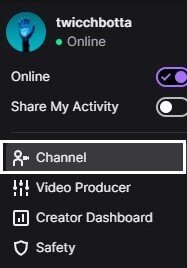
Click on your Twitch profile picture, also known as your Twitch avatar, located in the upper right corner, and select the Channel button from the drop-down menu.
Step 3: Click on About
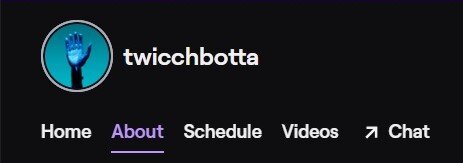
Next, you need to select the About option, which is located at the top left of the screen, just below your name and channel description.
Step 4: Toggle the Edit Panels Option
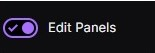
Step 4 involves turning on the same Edit panels toggle to enable the addition of text, images, or an extension panel.
Step 5: Discover Additional Options
The next step is to click on a large, grayed-out box featuring a plus sign to reveal two newly available options.
Step 6: Add Text or Image
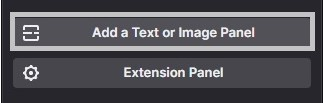
From those two options, select the Add a Text or Image Panel button. This will open a mini window, or a panel box, that you can use to complete the task.
You can either drag and drop or upload a panel image from your personal computer by using the purple Add image button.
Step 7: Add Panel Title
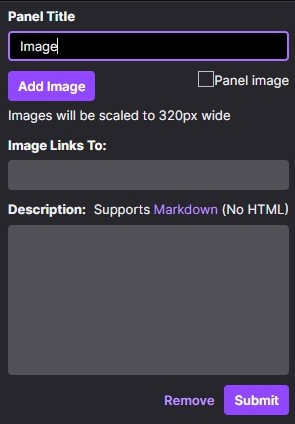
A penultimate step would involve adding a panel title, an embedded image link, and the image description that is supported only in markdown.
Step 8: Save and Review the Panel
Once you are satisfied with all the changes, you can click the Submit button to save the panel. Then, click the edit panels switch again to return to the regular channel view and see what your finished panel looks like.
Useful Notes About Twitch Panels
When adding new streaming panels to your channel, you need to consider several factors.
The Twitch panel size is quite limited. The image you select from your hard drive will be resized to a width of 320 pixels and a height of 600 pixels, with a maximum file size of under 1 MB.
There is no limit to the number of panels you can add to your profile page, but it is advisable not to overdo it to ensure they fit and look good on both smartphones and computers.
The description can be formatted using markdown only, but you can easily search online for coding examples on how to add bold text or insert additional links to external sources.
Ensure that the content of your panels is relevant and aligns with your overall style while adhering to Twitch's community guidelines.
Essential Panels to Include on Your Twitch Channel Page
There are numerous options to explore concerning panels, but these are the most essential ones to consider for your Twitch channel.
The About Me panel is a clear choice. Personalized info panels are an excellent way to share details about yourself and your streaming habits.
The Social Media panel allows you to display all of your social profiles on platforms such as Twitter, Instagram, Facebook, LinkedIn, and more. You can list all your social media accounts together or separately to enhance communication with your audience.
You could also add Discord overlays or panels for variety. A Discord panel can be useful if you prefer a hands-on approach to engage with your fans. The new Twitch integration option is fairly simple to activate in the Discord settings menu.
Lastly, a YouTube banner or panel is essential, as owning a YouTube channel is one of the most effective ways to rapidly grow your viewer base, particularly if you provide engaging content.
Depending on your goals and channel setup, there are additional Twitch panels you might consider adding, such as:
Twitch Panel Providers
While it is true that you can create or edit a panel using image editing software like Photoshop or MS Paint, there are additional options available to help you achieve what you want or need for your channel.
One of the best ways to access some of the most fabulous designs is through Twitch panel providers.
Below, I will discuss some of the best paid and free options for purchasing original concepts or creating your own custom Twitch panels.
1. OWN3D.tv
This website is likely the best resource for any aspiring streamer who wants to enhance their skills and gain full control over everything displayed on the video screen.
With OWN3D, streamers are assured of having everything they need to simplify their experience, from emotes to stream overlay packages. You can choose from thousands of existing designs, create personalized Twitch panels, logos, and badges, and even gain free access to excellent educational videos and detailed tutorials on streaming.
People connected to your channel will enjoy this content just as much as you enjoy implementing it on your Twitch page.
2. Fiverr

If you want to create a custom Twitch panel that has a unique style and a professional touch, look no further than Fiverr.
Fiverr is a marketplace that features a variety of artists and designers from diverse backgrounds, all prepared to create Twitch panels, animated overlays, emotes, banners, and anything else you might need for your Twitch channel.
All you need to do is browse through a vast database of streaming content and experienced professional designers to find those whose style best matches your needs.
3. Placeit.net

The PlaceIt is an excellent site to discover everything you need for streaming, including essential items such as donation panels, rules panels, animated panels, logos, YouTube templates, and more.
You can find both paid and free panels here, and you can subscribe monthly to access everything the site offers.
Undoubtedly, the standout feature here is the Twitch panel maker, which allows you to combine different colors and elements to craft a distinctive design for your channel.
4. Nerd or Die
This website is an excellent option if you're not tech-savvy and require a quick and efficient method to obtain a new panel for your Twitch page.
Nerd or Die offers a wealth of options, allowing you to create a custom Twitch panel or download free templates. You can explore and download free markdown templates or discover some of the more intriguing ideas that you can later incorporate into your design.
5. Twitch-overlay.com
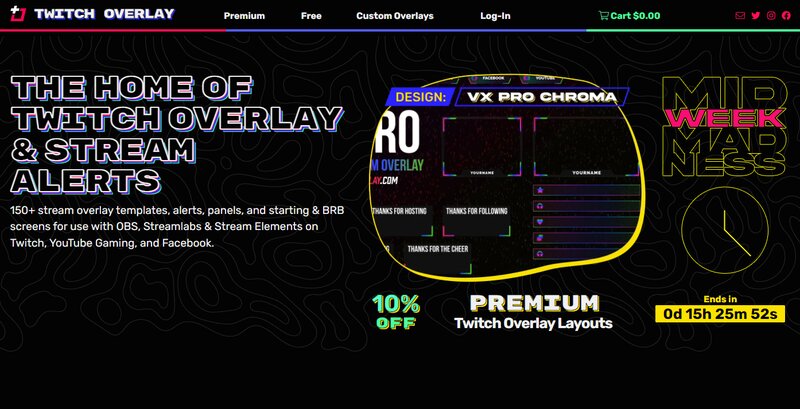
Twitch-overlay provides a range of free and paid Twitch panels to explore. The panel catalog is updated daily, and the prices are competitive. Additionally, free panels for download are added each month, making it worthwhile to check this site periodically.
In addition to Twitch panels, you can also obtain stream overlays and alerts. Furthermore, a free Twitch panel tutorial is available if you need assistance with setting up your channel.
Some of the most common options also include:
Closing Thoughts
Indeed, people are visual creatures, and it is wise to acknowledge this trait promptly and take action to keep your Twitch channel fresh and relevant.
A well-defined visual identity is essential for branding your name and conveying your intention.
You would receive recognition that would otherwise be unattainable if you left things plain and tasteless.
Investing some effort into personalizing these panels can significantly enhance your channel. We hope this article has assisted you in that regard, so go ahead and visually elevate your channel by creating memorable and unique designs.
Both old and new subscribers can enjoy interesting Twitch panels whenever they visit your page.
FAQ
Can anyone but you change your Twitch Panels?
Once you add Twitch panels that you have purchased or created to your page, no one will be able to interfere with them in any way. You have complete control over their position and purpose on your channel, as well as the ability to edit and modify them if necessary.
How to remove, rearrange, or edit panels on Twitch?
Go to the channel screen, select the About tab under the video screen, click the Edit Panels toggle, and all the necessary options will be available to you.
You can edit a panel title, change the image link, rearrange, or delete panels entirely. When you finish editing, press Submit and then click the Edit Panels button again to view the results.
Why create custom panels on your Twitch channel page?
A well-designed Twitch panel allows first-time viewers to connect with a specific design and learn everything they need to know about your channel's style and content.
Twitch panels are also useful for directing and redirecting viewers between different platforms and connecting with them through your social media accounts.