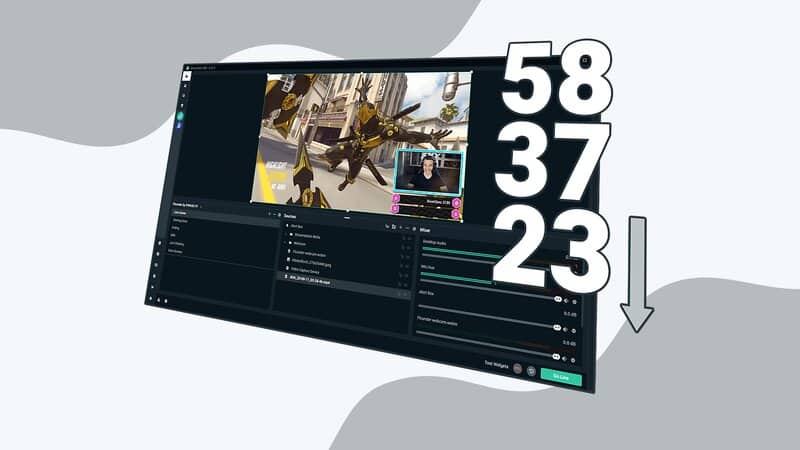
SLOBS has become one of the most popular streaming software options; everything you need for creating quality streams and broadcasts is integrated into a single program.
If you have chosen to build your streaming channel using SLOBS, you have likely encountered several issues while streaming, and I assume that Streamlabs OBS dropping frames is one of them.
Do not worry—despite being a well-developed software, issues like this often arise (OBS dropping frames is the most common) and I will explain how to fix dropped frames in OBS.
Dropping Frames Fixes
To fix framerate in Streamlabs OBS, follow these six steps:
1. Check the internet speed (use one of the speed test websites and if you see that internet speed is lower than declared, contact your ISP)
2. Fix the resolution (i.e., if you were streaming in 1080p, switch to 720p)
3. Fix the bitrate (choose a lower bitrate if OBS is struggling with the current one)
4. Switch to an ethernet cable (if your WiFi signal is fluctuating)
5. Firewall (if your firewall is turned on, always stick to TCP port 1935)
6. Choose another server (select the Twitch server that is closest to you)
Causes Of Dropping Frames
The leading cause is an internet connection, so start every diagnosis with that in mind. In some cases, it can be caused by malfunctioning hardware, but that would be seen on other occasions, not just during Twitch streaming.
Table of Contents
Streamlabs OBS Dropping Frames Issues Explained
Frames dropping in SLOBS is not the only issue you may encounter with frames.
Here are the most common frame issues:
1. Lagged frames
As you know, for encoder settings, you can select either software or hardware.
Lagged frames are associated with GPU usage; if you observe this issue, it indicates that the GPU is overloaded.
You can easily monitor GPU usage while streaming to prevent this from occurring.
To address lagged frames, adjust some of the settings.
It may be advisable to reduce the video quality or simply adjust the FPS value.
Additionally, for the game, ensure that the settings are configured to 120 FPS.
Related: Best GPU for Streaming – Top 7 Products and Reviews
2. Skipped Frames
Conversely, skipped frames are associated with CPU usage, which can also be easily monitored during the stream.
So, how can you resolve the issue of skipped frames in Streamlabs OBS?
Once more, you will need to adjust some of the settings.
Many streamers who encountered this issue were using x264 encoding. You do not need to change this setting, but you should select the appropriate preset. Most likely, a faster one will resolve the problem.
If the issue persists, switch to hardware encoding to avoid concerns about CPU overload.
Related: Best CPU for Streaming on Twitch
3. Dropped Frames
As mentioned, this is the most common issue among the three. How can you fix dropped frames in Streamlabs OBS?
Fortunately, the solution for Streamlabs OBS frame drops is straightforward.
First, let’s discuss the causes.
Why Do Dropped Frames Occur in Streamlabs OBS?
This issue arises from a poor internet connection and inadequate connectivity to ingest servers. While it may also be related to your equipment, it is more likely that the primary problem lies with the internet connection itself.

How to Determine if OBS Dropped Frames?
Firstly, always monitor the chat during the stream.
Your viewers will quickly notice if something is amiss and will likely inform you in the chat.
Therefore, if anyone mentioned stuttering, you are likely experiencing issues with dropped frames in OBS.
Of course, there may be issues with the platform while everything is functioning well on your end.
However, to be certain, after you notice a complaint, check the stream status on SLOBS. From there, you can easily determine whether the issue is a poor internet connection or a problem with the platform.
How to Fix Dropped Frames in OBS?
If you are wondering how to reduce dropped frames in OBS, consider trying one of these solutions:
1. Check the internet speed
First, you should check your internet speed.
Many websites allow you to do this easily, and I always recommend speedtest.net.
2. Adjust the resolution
After verifying the upload speed, you can begin adjusting the settings.
The first adjustment you should make is to the resolution; it may be too high for your upload speed, which could be causing the issues with Twitch dropped frames.
Remember, one resolution should correspond to the monitor’s resolution, while the other should be determined by the internet upload speed. Therefore, if you are streaming in 1080p, consider switching to 720p.
3. Adjust the bitrate
Typically, simply selecting a different resolution won’t suffice; you also need to adjust the bitrate.
OBS may be having difficulty maintaining a consistent stream bitrate, so consider selecting a lower bitrate.
4. Switch to an Ethernet cable
Wi-Fi signal strength is continually fluctuating, which leads to issues during streaming.
Before you begin streaming, connect using an Ethernet cable.
If you do not have this cable, open the Wi-Fi Analyzer to select the appropriate channel.
5. Firewall
When dealing with a firewall, always adhere to TCP port 1935.
6. Choose a different server
On Twitch, you can easily identify the server that is closest to you.
The platform should show the three closest options and then select one of them for streaming.
