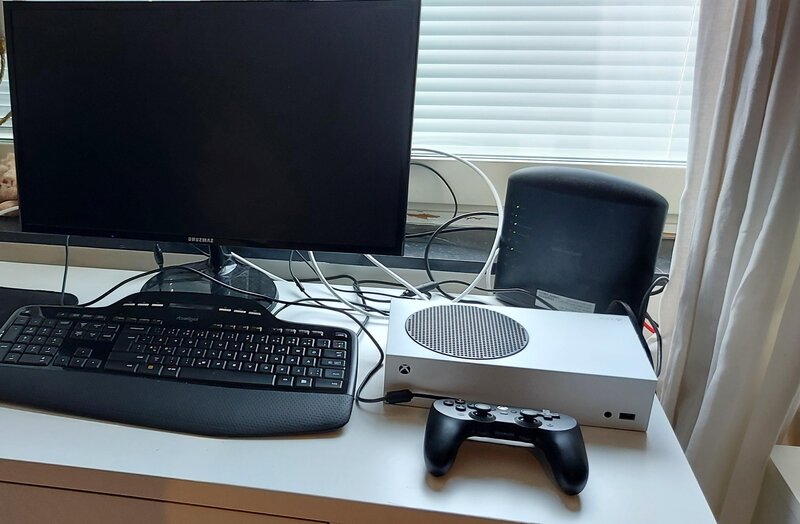
Streaming Xbox One games has always been something I wanted to pursue. After discovering the Twitch app on Xbox One, I realized that streaming from an Xbox One console is quite simple.
All you need is an Xbox console, a Twitch app, and a few minutes. Here is how to stream on Xbox One:
Step 1: Download Twitch Xbox App
Install Twitch Xbox App from the Microsoft store to your Xbox One, and log in using your Twitch credentials.
Step 2: Set up your stream
Go to the Broadcast tab and adjust the bitrate, set the stream resolution to 720p or 1080p, maximum settings for the microphone, and lower settings for game volume and party chat.
Step 3: Go live
Click the “Start streaming” button when everything is set to your liking and go live.
Continue reading to discover how to set up your Twitch account on Xbox One and stream directly from your console.
Table of Contents
How to Stream on Xbox One

1. Testing Your Connection With TwitchTest
First things first. Ensure that your Xbox One is connected to the internet using an ethernet cable rather than WiFi before you begin streaming.
To stream games on Xbox One (or any other system, for that matter), Twitch recommends an upload speed of between 2,500 and 4,000 kbps.
To determine if your internet connection is sufficient, I recommend downloading and installing the free TwitchTest app on your PC.
The process is straightforward and user-friendly, and within minutes, you will know if you have the necessary bandwidth to stream games on Twitch.
2. Downloading and Activating the Twitch Xbox App
With the Xbox One controller, you can navigate to the Microsoft Store, located on the Xbox One’s Home screen.
In the store, you can find the Twitch app by entering its name in the search bar. After doing so, you will be presented with the option to download the Xbox One Twitch app.
After downloading the app, you will need to connect it to your Twitch account. To do this, simply launch the Twitch app and click on Sign In.
On the next screen, you will receive a six-digit code to activate the Twitch Xbox app. You can do this from either your PC or mobile device.
After that, your Xbox Twitch app will be connected to your Twitch account.
3. Understanding the Twitch App on Xbox One
Once you have downloaded everything to your console, open the application and navigate to the Broadcast button at the top of the screen, then click on it.
On the right side of the next screen you encounter, you will see several options:
Now that I have explained the function of each option, it’s time to set everything up.
4. Setting Up Your Xbox One Stream
Some settings in the Twitch app are more important than others. For instance, the settings for the broadcast bar and camera positions are based on personal preference, allowing you to adjust them in a way that best suits your style.
When it comes to the microphone, party chat, and game volume,
If you intend to communicate with your viewers, I recommend setting your microphone to the maximum level, while keeping the party and game volume at a lower level.
This will help those who are watching to hear you over your gameplay and the chatter coming through TeamSpeak if you are playing an online game.
However, I found that the most important settings are the bitrate and resolution. These options are crucial because the quality of the stream relies on them.
For Bitrate:
If you are uncertain about the speed of your home network, I suggest using the automatic option.
This will enable the stream to adapt to your network speed, resulting in a smoother experience.
For Stream Resolution:
The current standard for streaming games is 720p and 1080p. I do not recommend going below these resolutions if possible.
However, to determine which resolution will best suit your streaming needs, you will need to experiment and observe.
If 1080p is slightly too laggy, you can reduce the resolution to 720p and check if it improves.
5. Playing Your Xbox One Games Live!
Once you have installed the Twitch app on your Xbox One and reviewed all the settings for your stream, it’s time to name your Xbox stream. You can do this in the box located on the left side of your window.
After that, there is only one more thing you should do before you start streaming: install the Twitch app on your phone if you haven’t done so already.
Downloading Twitch to your phone enables you to connect your Xbox One stream to your device, allowing you to control your stream and engage with the chat without the need for a PC or any other devices.
Once you have completed all of that, the only thing left to do is press the Start Streaming button located at the bottom left corner of the window.
Now you can finally broadcast the gameplay of your favorite Xbox One game from your console to anyone who wishes to see it, whether it’s just your friends or thousands of followers.
When you decide to end your broadcast, simply click the Xbox button on your controller to return to the Twitch application.
After that, simply click on the Stop Streaming button, and your stream will end until you choose to broadcast again.
