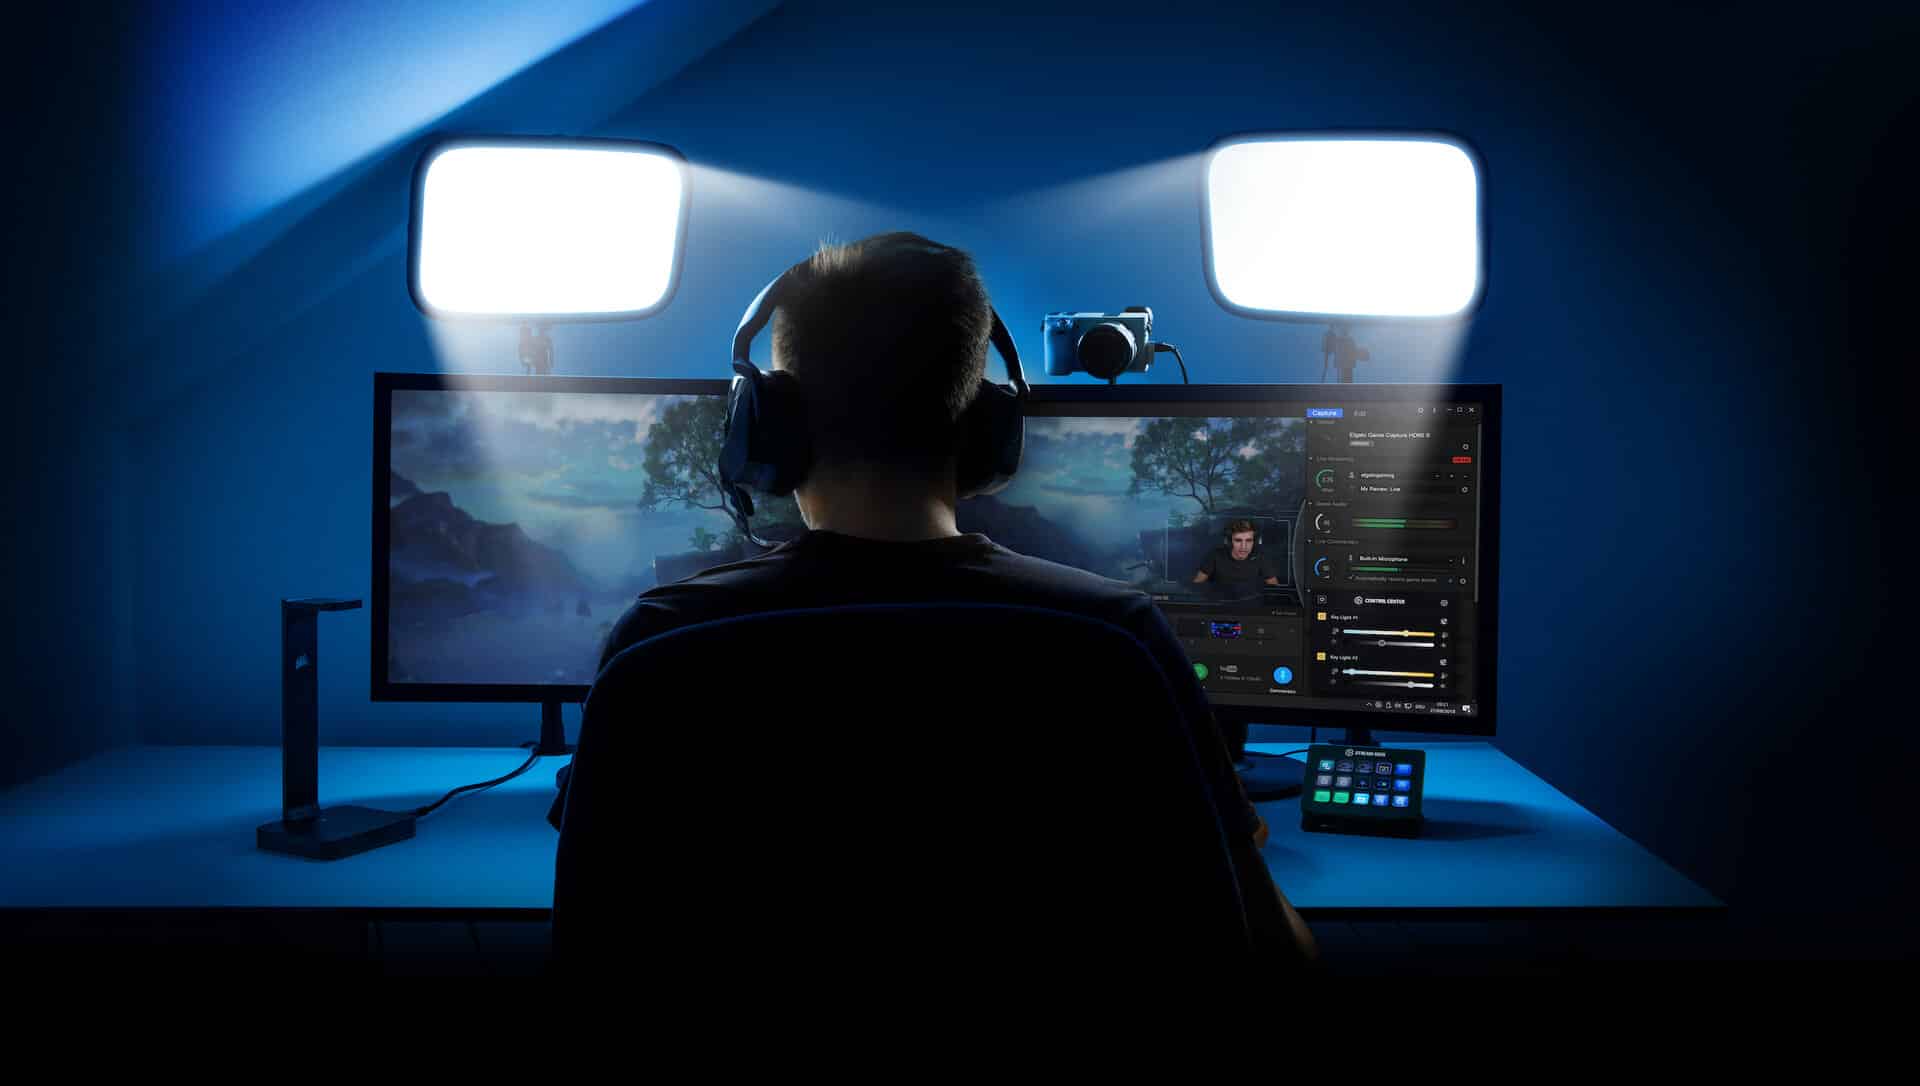
One of the things all new streamers forget is to have proper lighting. Professional lighting systems are pretty expensive, but you can do wonders at home with custom-made lighting.
I'll go through 3 most popular DIY lights that you can probably setup already today!
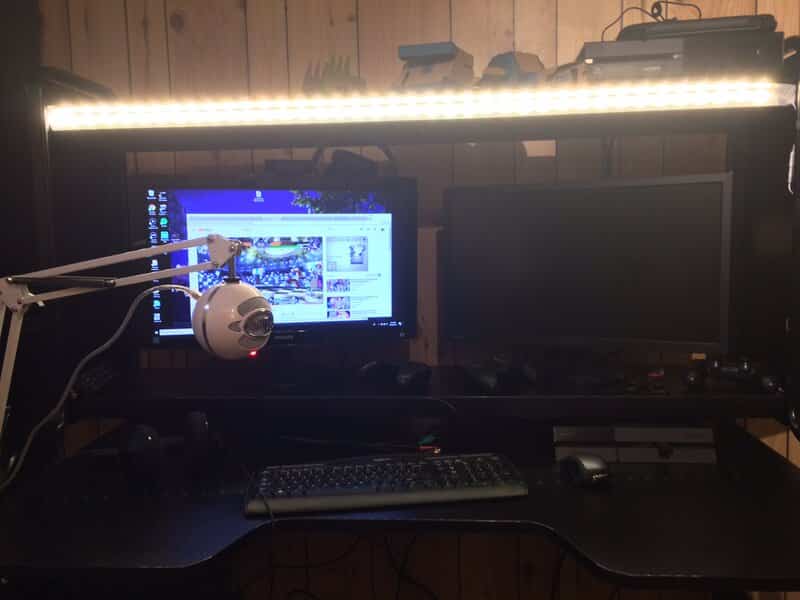
DIY LED Strip Lighting
Place LED strips with power supply on double-sided adhesive tape that you beforehand placed in your room.
LED Soft Light Panel
You need to make a light head from cardboard, then make a diffuser from two sheets of parchment paper and soldering iron, and for the end, make a light stand from cardboard, as well.
DIY Floor Light
Acquire the clamp light and the tripod, attach the clamp light to the tripod, strengthen it with a spring clamp, screw the light bulb in and try it out.
There are numerous DIY lighting methods available online, but we have chosen to guide you through the three simplest ways to create your own homemade lighting.
For each DIY light, we will discuss the necessary supplies, the steps to create them, and their best uses.
Let's explore how you can save your hard-earned money while enjoying the process of creating your DIY video lighting!
1. DIY LED Strip Lighting
For the first method, we have selected the simplest and most straightforward solution if you require basic lighting for your streams.
For this LED strip lighting, you will need:
Your LED strip lights should have a color temperature of around 3000 K. Depending on your lighting preference, you can choose either neutral white or cool white.
Regarding LED power supplies, many LED strip lighting kits already include a power supply; however, if you find one that does not, power supplies are typically quite affordable.
Parchment paper can help diffuse the light somewhat; however, if you find LED strip lights with adjustable brightness, then you won't need it.
Lastly, you will need double-sided tape to secure the lights in a specific area.
The total cost of this DIY light should be approximately $20, and you won’t need more than 10 minutes to complete your DIY project.
How to Make It?
First, you will need to use double-sided tape and apply it to the area where you want your LED strip to be placed.
You can place it on the sides or bottom of your desk, on your wall, or on the edge of your bookshelf if it is mounted above your desk, among other options. The choice is yours.
A great idea is to set up your camera and start recording. When you begin mounting the lights and turning them on, check how it looks on camera. This will make it easier for you to make any necessary adjustments.
Once you’re satisfied with the placement of your tape, carefully adhere the back of the LED strips to it. Do this with precision, as you want the LED lights to be arranged in one or two even lines.
Next, use small pieces of tape to secure the lights in place by covering the small gaps between each LED light.
If you desire dimmer lighting, now is the time to use strips of parchment paper and tape them over the lights.
Once you're finished, simply connect the strip to the power adapter, and you're all set.
See? It’s affordable, fast, and simple.
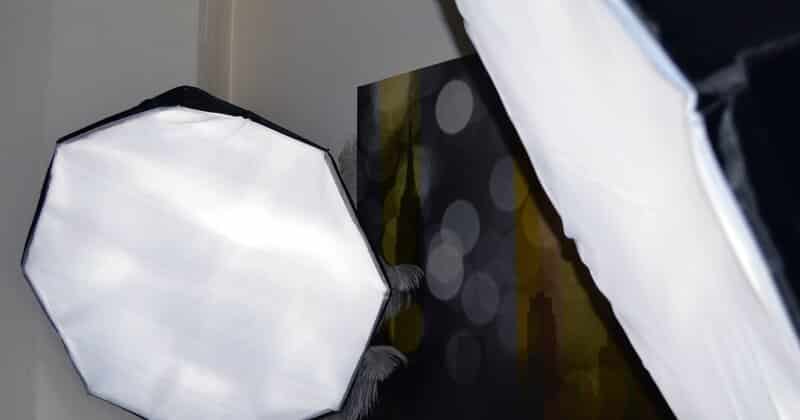
2. DIY LED Soft Light Panel
The next light you can create at home is essentially a combination of a DIY soft light and a light panel. While it may take more time to construct than the previous method, you’ll feel a sense of pride once you’ve completed it.
The items you will need to create this include:
Most of these items you should already have at home, except for the soldering iron or the glue gun. If you can borrow them from a friend, you won't need to purchase them.
How to Make It?
There are three steps to the entire process, and we will guide you through each one in detail.

#1 Step - Creating the Light Head
In the first step of creating your DIY soft light, take a piece of cardboard that measures approximately 12” by 12”. Next, draw a square around the perimeter of the cardboard that is about 2” wide. Use a ruler to measure and a pencil to mark the lines.
Next, create 10mm diagonal notches at each corner to form a box-shaped light head.
After cutting out your notches, use your knife to gently score the creases where the cardboard will bend, as this will make assembly easier for you.
Use your glue gun to bond the notches together, and your light head should begin to take on an open box shape with bent sides.
Once that is complete, you will want to make the light reflect, and the best way to achieve this is by using aluminum foil. Take a piece of aluminum foil that is slightly larger than your light and attach it with a hot glue gun.
You want to create as few creases as possible, so try to gently iron the foil using a ruler, but be careful not to tear the foil.
At the very end, make a hole in one of the corners large enough for your power cable to fit through.
Now you are ready to begin attaching your LED strips, which brings us to step #2.
#2 Step - Preparing the LEDs, Soldering, and Creating the Diffuser
Now it’s time to attach the LED strips to your improvised light head. Take your LED strip and cut it into 9 segments, each containing approximately 9 LEDs.
You should arrange them in a zig-zag pattern, as this will make it easier to solder them together.
Once you have arranged your LED strips and secured them with the glue gun, you are now prepared to do some soldering.
If you lack experience in soldering, practice your skills on a small piece of LED strip before you begin soldering your DIY light.
Use your soldering iron and solder to place a dot on each of the pads on the LED strips, and then connect them using your wiring.
It’s quite simple: connect positive to positive and negative to negative. Cut each positive and negative wire into smaller pieces to create a simple circuit.
At the end of the last strip, you should solder your power cable that connects to the power supply. Check to see if it lights up; if it doesn't, review your wiring again.
Now that the difficult part is complete, all that remains is to create a diffuser and attach it to the light head. Use two sheets of parchment paper that match the size of your light, and tape them on just two sides so you can easily remove them if necessary.
That concludes step #2, so let's move on to the final step, which involves creating a stand for your light. This should be easy.
#3 Step - Creating a Light Stand
The final step is quite simple. Take a piece of cardboard, approximately 10" in length, and cut out a “T” shape on both sides so that when you fold it, you will once again create a “T” shape.
Next, apply glue to the bottom of your "T" cardboard, ensuring the "wings" remain in between. Insert a piece of skewer and glue it in place. This will create a hinge mechanism.
Ensure that a sufficient length of the skewer extends from the cardboard, as you will need to tape the end of the skewer to one side of the binder clip. Since the binder clip is slightly tilted, this will result in an angled DIY continuous light softbox.
Since this is a tabletop light, it can serve as an excellent addition to your desk, or you can use the binder clip to attach it to the side of the desk or a shelf.
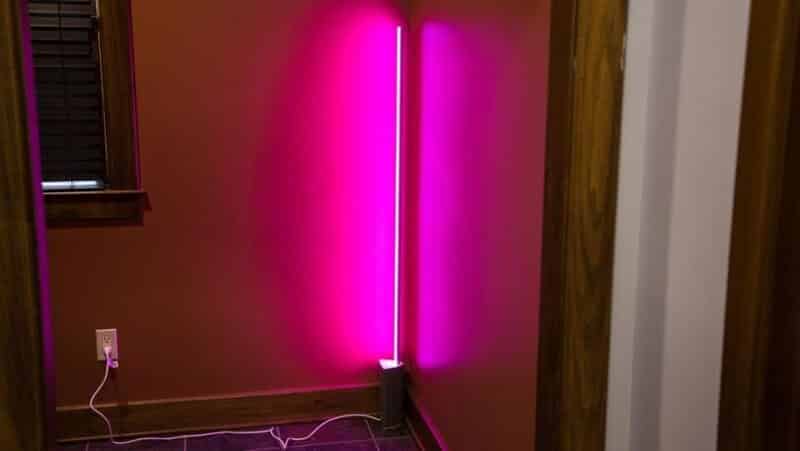
3. DIY Floor Light
The final item on our list is, of course, a DIY floor light, as no lighting setup for streaming is complete without one. We will recreate a studio light for half the price.
The great thing is that this isn’t a large project, so you won’t need to spend as much time as you did with the previous light.
Here are the items you need:
The clamp light and the tripod are the most expensive items on the list, but you will still save a significant amount of money while acquiring a powerful lamp.
Let’s explore how to create it!
How to Make It?
To create this DIY video lighting with a floor tripod, start by selecting a clamp light that suits your needs. Aim for at least a medium or large-sized clamp light, as they will provide significantly brighter illumination than a small one.
Next, you need to select the appropriate bulb—typically, it should be around 100W. The color of the light depends on your preference, but if you want a reliable option, choose daylight bulbs.
To attach the clamp light to the tripod, position the clamp at the appropriate height. If the tripod includes a phone stand or a camera mount, place the clamp of the clamp light beneath the mount.
Next, use the spring clamp to secure the light clamp. That’s a lot of clamps! Jokes aside, this method will ensure that the tension between the two clamps keeps everything in place, preventing your light from moving.
As you can see, you're all set. Simply screw in the light bulb and test it out. If you'd like to diffuse the light, cut a circular shape from the parchment paper and tape it to the sides of the light head.
As you can see, this method is quick, easy, and quite inexpensive for creating a studio light. It is ideal for use as a backlight or fill light.
Things to Consider When Creating Your DIY Stream Lighting
Now that you understand how to create a softbox light, floor light, or even attach simple LED strips to your desk, there are a few factors you should consider before beginning your DIY streaming lights project.
1. Quality
While you may not achieve the highest quality lights with a DIY approach, you can still create a light that meets your needs.
If you’re considering making DIY lights, you are likely aiming to minimize costs, which means that the quality of the lighting may not be your primary concern.
This is nothing to be ashamed of; creating DIY lights is a fun project, and you don't need the highest quality lights when you begin.
If you're not concerned about the quality of the lights and simply want a source of illumination, then one of these DIY lights could be your next afternoon project.
2. Budget
It is indeed possible to find affordable lighting for streaming even if you’re on a budget. You can manage with a $25 streaming light that is surprisingly effective.
However, you can also create your own light for the same cost as outlined in our guide above.
Ultimately, the choice of path depends on you and your budget. Just remember, creating your DIY light is much more enjoyable, and you will feel a sense of pride once you complete it.
3. Adjustability
The main drawback of creating your DIY lights is that they won't be as adjustable as standard streaming lights available for purchase.
Of course, you can improvise and make them more adjustable, such as by creating your own filters and diffusers. However, in the end, you won’t have all the features that many streaming lights offer.
In conclusion, DIY lights will attract a particular group of individuals who enjoy crafting with their hands and possess the creativity to make things functional.
If you belong to this group, you should definitely consider creating your own lighting.
Conclusion
We hope this DIY guide has been helpful and that you are at least intrigued by what you can create with your hands.
Of course, if you discover a new way to create lights or simply wish to enhance our method, we would be more than happy to know that we’ve inspired you.
Enjoy creating your DIY lights!