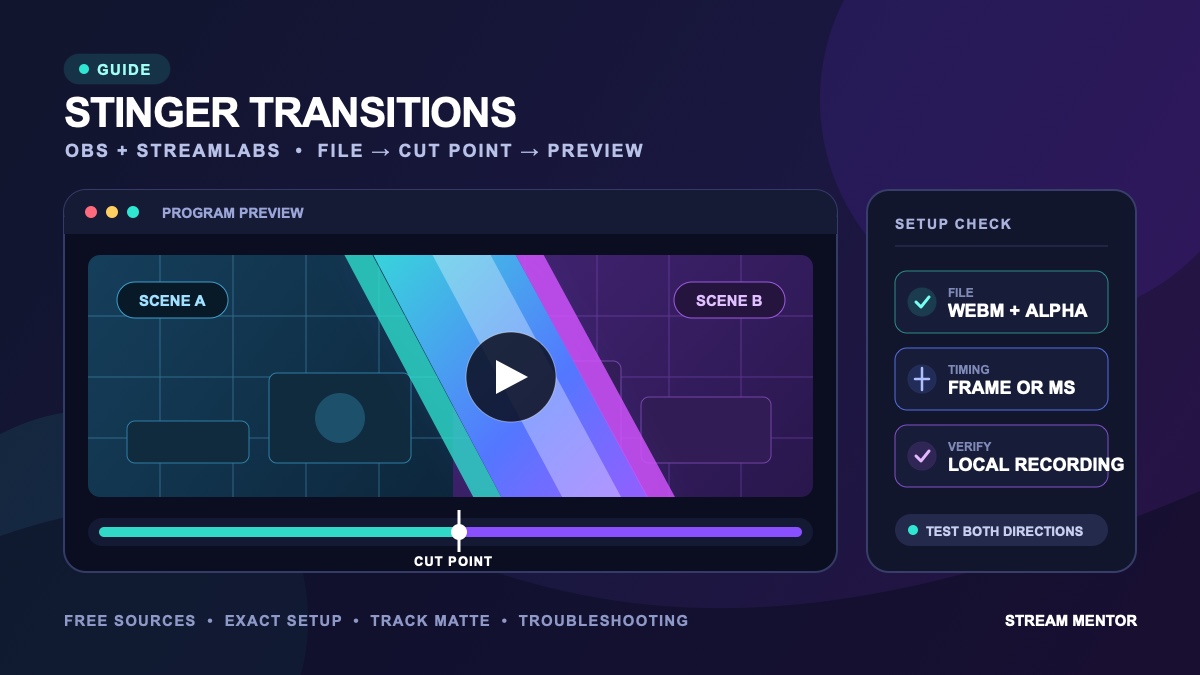
Quick answer: for a classic stinger transition, start with a short WebM file that has transparency and includes the creator's exact cut point. Add it as a Stinger in OBS or Streamlabs Desktop, place the cut at the moment the animation fully covers the canvas, and test both directions in a local recording. If a plain Cut or Fade communicates the scene change more clearly, use that instead; a stinger is optional decoration, not a Twitch requirement.
Editorial update: Stream Mentor completely rewrote this guide on July 24, 2026. The former seven-store ranking, affiliate links, coupon, prices, promotional screenshots, unsupported popularity claims, and purchase recommendations were removed. The replacement uses current OBS, Streamlabs, Elgato, and W3C documentation. Free-source details were checked on the review date, but Stream Mentor did not download every pack or run the files in a live broadcast.
What a stinger transition actually does
A stinger is a short video that plays over a scene change. With a classic stinger, the broadcasting app cuts from the old scene to the new scene at a time or frame you specify while the animation hides the canvas. OBS describes it as a video overlaid on a cut between two scenes. Twitch, YouTube, and other destinations receive the finished program feed; you configure the transition in OBS, Streamlabs Desktop, or another production app.
Use a stinger when the animation supports the channel's visual identity or cleanly separates segments. Use the built-in Cut when speed matters, or Fade when a quieter change is easier to follow. OBS includes Cut and Fade from the first launch, so downloading a transition is never necessary just to switch scenes.
| Transition | How the scene changes | Good fit |
|---|---|---|
| Cut | The next scene appears immediately | Fast production, gameplay changes, and a low-motion fallback |
| Fade | The old scene dissolves into the new one | Calm shows, interviews, and subtle segment changes |
| Classic stinger | A video covers a timed or frame-based cut | Short branded changes where the creator supplies a reliable cut point |
| Track matte stinger | An animated mask reveals the next scene | Shapes and wipes that need more control than one hidden cut |
Current free stinger transition sources
“Free” can describe the price without granting every reuse or editing right. Before adding any file to a commercial stream, read the product page and included license, keep a copy of the license or receipt, and confirm whether modification, client work, redistribution, and use in VODs are allowed. A download page can change after this article's review date.
| Source checked July 24, 2026 | What the page currently provides | What to verify before use |
|---|---|---|
| OBS Project track matte samples | OBS links a free selection made for trying its Track Matte mode | Read the OBS instructions first; track matte files use a different setup from a classic timed stinger |
| Elgato: 10 Free Track Matte Transitions | Ten WebM mattes listed at 1280 × 720 and 1920 × 1080, with OBS and Streamlabs compatibility shown on the product page | Marketplace sign-in or library steps may apply; check the current terms and choose the resolution that matches the project |
| Nerd or Die Uplink free extra | The product page currently offers its Uplink stinger as a free extra in WebM format and includes an After Effects project for optional editing | The broader pack is paid; identify the free-extra download rather than assuming the full package is free, and review its license |
This is a short verified starting list, not a claim that these are the “best” files or that every file was hands-on tested. Search results also contain user uploads, AI makers, template tools, and repackaged archives whose ownership may be unclear. Avoid executables and browser extensions when the promised asset should simply be a video or archive. Do not upload a logo, client art, or unpublished brand file to an unknown maker without first reading its privacy and content-use terms.
Choose the right stinger file
Elgato's current maker documentation recommends WebM for streaming software because it can carry the required transparency and is easy for the app to load. It recommends 1920 × 1080 as a common delivery size, an empty first and last frame, and written cut timing in frames or milliseconds. Those are useful delivery conventions, not a rule that every stream must output at 1080p.
- Prefer WebM with transparency for a classic live stinger. A file extension alone does not prove that the video contains an alpha channel. Preview it over a colored background in the broadcasting app.
- Match the canvas shape and preferably its resolution. A 16:9 file intended for 1920 × 1080 can be scaled down for a 1280 × 720 canvas. A portrait, square, or mismatched file may leave borders or stretch.
- Get the cut point from the creator. Look for a frame number, timestamp, setup guide, or readme. Guessing can work, but it makes a hidden old-scene flash more likely.
- Check the beginning and ending. Empty first and last frames prevent a visible graphic from lingering before or after the change.
- Choose audio deliberately. If the file includes a sound effect, also keep a muted or quieter version. Elgato recommends supplying those variants because transition-audio control in streaming software is limited.
- Keep the original archive and instructions. They may contain the intended frame rate, cut timing, matte layout, font license, or alternate files.
MP4 is widely playable but is not automatically a transparent-video format. MOV can contain transparency and is useful in editing workflows, but the codec inside the container still matters. When a pack offers several formats, use the creator's file specifically labelled for OBS or Streamlabs rather than converting blindly.
How to add a stinger transition in OBS Studio
- Prepare two test scenes. Give them obviously different backgrounds so an early or late cut is easy to spot.
- Find the Scene Transitions dock. If it is hidden in a customized layout, restore it from OBS's Docks menu.
- Select the plus button and add a Stinger. Give it a descriptive name that includes the pack or purpose.
- Choose the video file. Keep the asset in a permanent project folder before linking it; moving or renaming it later can break the path.
- Select the transition point type. Use Time (milliseconds) or Frame when the creator supplies that value. Choose Track Matte only for a file built for that mode.
- Enter the supplied cut point. For a classic stinger, this should be the moment the animation fully hides the old scene, not automatically the midpoint of the video.
- Save and select the transition. Switching scenes now runs that stinger unless a scene override or a different active transition applies.
- Test in Studio Mode and record locally. OBS's official overview recommends testing before going live. Check both scene directions, repeat the change several times, and listen through headphones.
If a creator supplies only a frame number but your setup asks for milliseconds, divide the cut frame by the file's frames per second and multiply by 1,000. For example, frame 45 in a 60 fps file is 45 ÷ 60 × 1000 = 750 ms. Use the file's actual frame rate, not the stream's output frame rate, and treat frame numbering carefully because some instructions count the first frame as zero while others count it as one.
How to add a stinger in Streamlabs Desktop
Streamlabs' current transition guide confirms that its Scene Transitions menu opens from the transition control above the scenes and includes an Add Transition action. The following Stinger fields are also documented in Nerd or Die's product-specific Streamlabs setup instructions, last updated March 11, 2025:
- Select the transition icon above the scene list.
- Open the Scene Transitions menu and choose Add Transition.
- Set the transition type to Stinger.
- Browse to the WebM or other file supplied for Streamlabs.
- Choose the point type required by the pack and enter its transition time or frame.
- Select Done, make the new transition active, and test it between two contrasting scenes in a local recording.
Labels can move as Streamlabs updates its interface. If a transparent file shows an opaque frame only at the start or end, compare the same file in OBS before re-encoding it. Streamlabs currently lists an investigating known issue in which a stinger's alpha layer may not render properly at the beginning and end. That support page was rechecked on July 24, 2026; follow its current status and diagnostic-report instructions instead of assuming the asset is corrupt.
Classic stinger versus track matte
A classic stinger hides one cut at a chosen time or frame. A track matte uses a black-and-white animated mask to decide where the old and new scenes appear throughout the transition. In OBS's explanation, black shows the current scene, white shows the next scene, and gray can produce a blend between them.
Track Matte mode does not use the classic cut-point value. OBS supports a combined file with the visual and matte placed side by side or stacked. Its current documentation says separate visual and mask files are disabled because independent video decoding cannot be guaranteed to remain in lockstep. For two 1920 × 1080 halves, the combined side-by-side file is 3840 × 1080; a stacked file is 1920 × 2160.
Do not select Track Matte simply because the animation has transparency. Use it only when the creator says the file includes a matte and tells you whether it is side by side or stacked. If the download supplies a normal 1920 × 1080 WebM plus a millisecond cut point, it is probably a classic stinger.
Fix common stinger transition problems
| Symptom | Likely check | Practical fix |
|---|---|---|
| The old scene flashes back | The cut is too early or too late, or the first/last frames are not empty | Move the transition point in small steps while recording both directions; use the creator's documented frame or time |
| A black or solid rectangle covers the screen | The selected file may not contain transparency, or the app may not decode its alpha channel correctly | Choose the WebM labelled for streaming, test it over a bright scene, and compare it in another supported app before converting |
| The animation has borders or looks stretched | The asset's aspect ratio or resolution differs from the OBS canvas | Use the correct 16:9 resolution or ask the creator for a matching export; do not crop away the part that hides the cut |
| The transition stutters | The system may be struggling to decode the file while rendering and encoding the stream | Test in a local recording, check OBS Stats and logs, close unnecessary GPU-heavy apps, and try the creator's lower-resolution or shorter version |
| The sound effect is too loud | The audio is baked into the transition file | Use the supplied muted or lowered-audio variant; ask for one rather than repeatedly normalizing an unknown master |
| The transition disappeared after reorganizing files | The project still points to the old local path | Move assets into a permanent project folder, relink the file, and include that folder in backups |
| Track Matte looks split or wrong | The wrong layout was selected, or a classic stinger was treated as a matte | Match the side-by-side or stacked setting to the pack's instructions and use OBS's official sample to isolate the configuration |
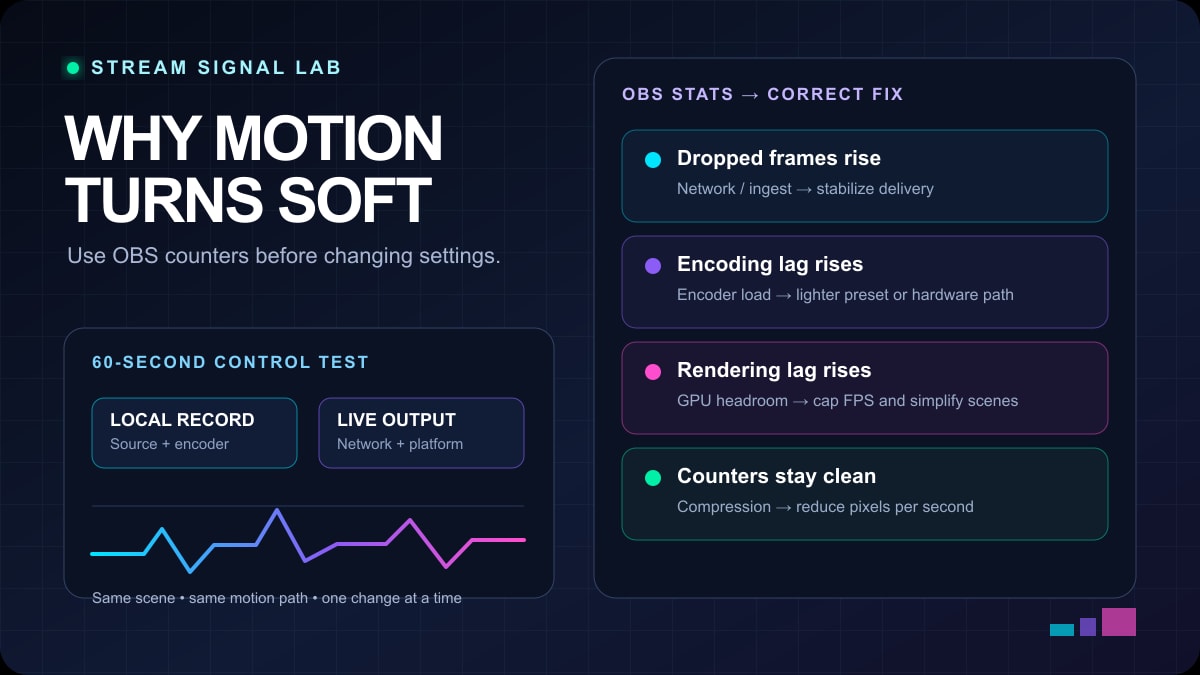
If the whole stream becomes blurry only during fast gameplay, the stinger may not be the real cause. Diagnose rendering, encoding, bitrate, and network problems separately with our moving-stream blur guide. Replacing a transition will not fix dropped network frames or an overloaded encoder.
Make scene changes easier to watch and hear
A transition can be brief and still create a problem through flashing, large rapid motion, or a sharp sound. W3C's web-accessibility guidance is not a Twitch-specific certification, but it provides a conservative design baseline for screen animation. Its Three Flashes criterion says content should not flash more than three times in any one-second period unless it stays below defined flash-area and color thresholds. If an effect exceeds that simple limit, specialist analysis is safer than guessing.
- Avoid full-screen strobe effects and saturated red flashes.
- Keep the movement purposeful and do not make every scene switch a large zoom or spin.
- Maintain a Cut or Fade alternative for lower-motion broadcasts and sensitive segments.
- Use a muted or quieter file when transition audio competes with speech, alerts, or game sound.
- Do not put essential instructions only inside a fast animation; the next scene should remain understandable after it ends.
- Test at phone size as well as on the editing monitor. Fine logos and text inside a one-second animation may be unreadable even when the file is sharp.
- Keep captions, safety messages, and important status information visible long enough outside the transition.
A custom visual does not automatically improve a stream. Clear scenes, readable overlays, clean audio, and reliable switching matter more. Our Twitch overlay selection guide covers licensing, readability, performance, and provider comparisons without assuming that a larger graphics package is better.
A five-minute pre-stream test
- Start a local recording rather than a live broadcast.
- Switch from Scene A to Scene B and back at least three times.
- Pause the recording at the cut and confirm that neither scene leaks around the animation.
- Listen for a click, clipped effect, or sound that masks speech.
- Watch OBS Stats for rendering or encoding lag during repeated transitions.
- Review the recording at full size and at phone size.
- Move the asset into its permanent folder, relink if necessary, and back up the file, readme, timing, and license.
Frequently asked questions
Are stinger transitions only for Twitch?
No. The transition is produced inside the broadcasting app before the output reaches Twitch, YouTube, Kick, a recording, or another destination. Compatibility depends on the production software and file, not the channel page where viewers watch.
What is the best format for an OBS stinger?
For a classic transparent streaming transition, WebM is the safest starting choice when the creator specifically exports it for OBS. Elgato's maker documentation recommends WebM for streaming software. The codec and alpha channel still matter, so the filename alone is not proof of compatibility.
How long should a stinger transition be?
There is no universal required length. It should be long enough to cover the scene change and short enough not to interrupt the program. Judge the actual animation, cut timing, speech, and repeated use rather than copying a generic duration. A simple Cut or Fade is better than a stinger that makes frequent scene changes feel slow.
Why does my stinger show the wrong scene?
The transition point is usually outside the interval when the canvas is fully hidden. Enter the creator's exact frame or millisecond value, then move it slightly while reviewing a local recording. Also confirm that no scene-specific transition override is active.
Can I make a stinger without After Effects?
Yes. Any editor or animation tool can work if it can export a compatible file with the required transparency, dimensions, frame rate, and empty boundary frames. Before using an online maker, inspect its export format, license, privacy terms, watermark, resolution, and whether it provides the cut point.
Is a track matte better than a classic stinger?
Not automatically. A track matte is useful when an animated shape should reveal the next scene progressively. A classic timed stinger is simpler when one fully covered moment can hide the cut. Use the mode the file was designed for.
Sources and review scope
- OBS Project: OBS Studio Overview, official stinger introduction, and Track Matte Stinger Transitions.
- Elgato Maker documentation: Stinger Transitions delivery guidance and the 10 Free Track Matte Transitions product page.
- Streamlabs: Scene Transitions menu guide and its current stinger alpha-layer known issue.
- Nerd or Die: product-specific Streamlabs stinger setup and the Uplink free-extra product page.
- W3C Web Accessibility Initiative: Three Flashes or Below Threshold and Animation from Interactions.
These sources and the live search landscape were checked on July 24, 2026. Stream Mentor did not install every listed download, submit a Streamlabs diagnostic report, or run a live-broadcast comparison. Product availability, licenses, marketplace requirements, support status, and interface labels can change; the current first-party page and the instructions packaged with the specific file take priority.