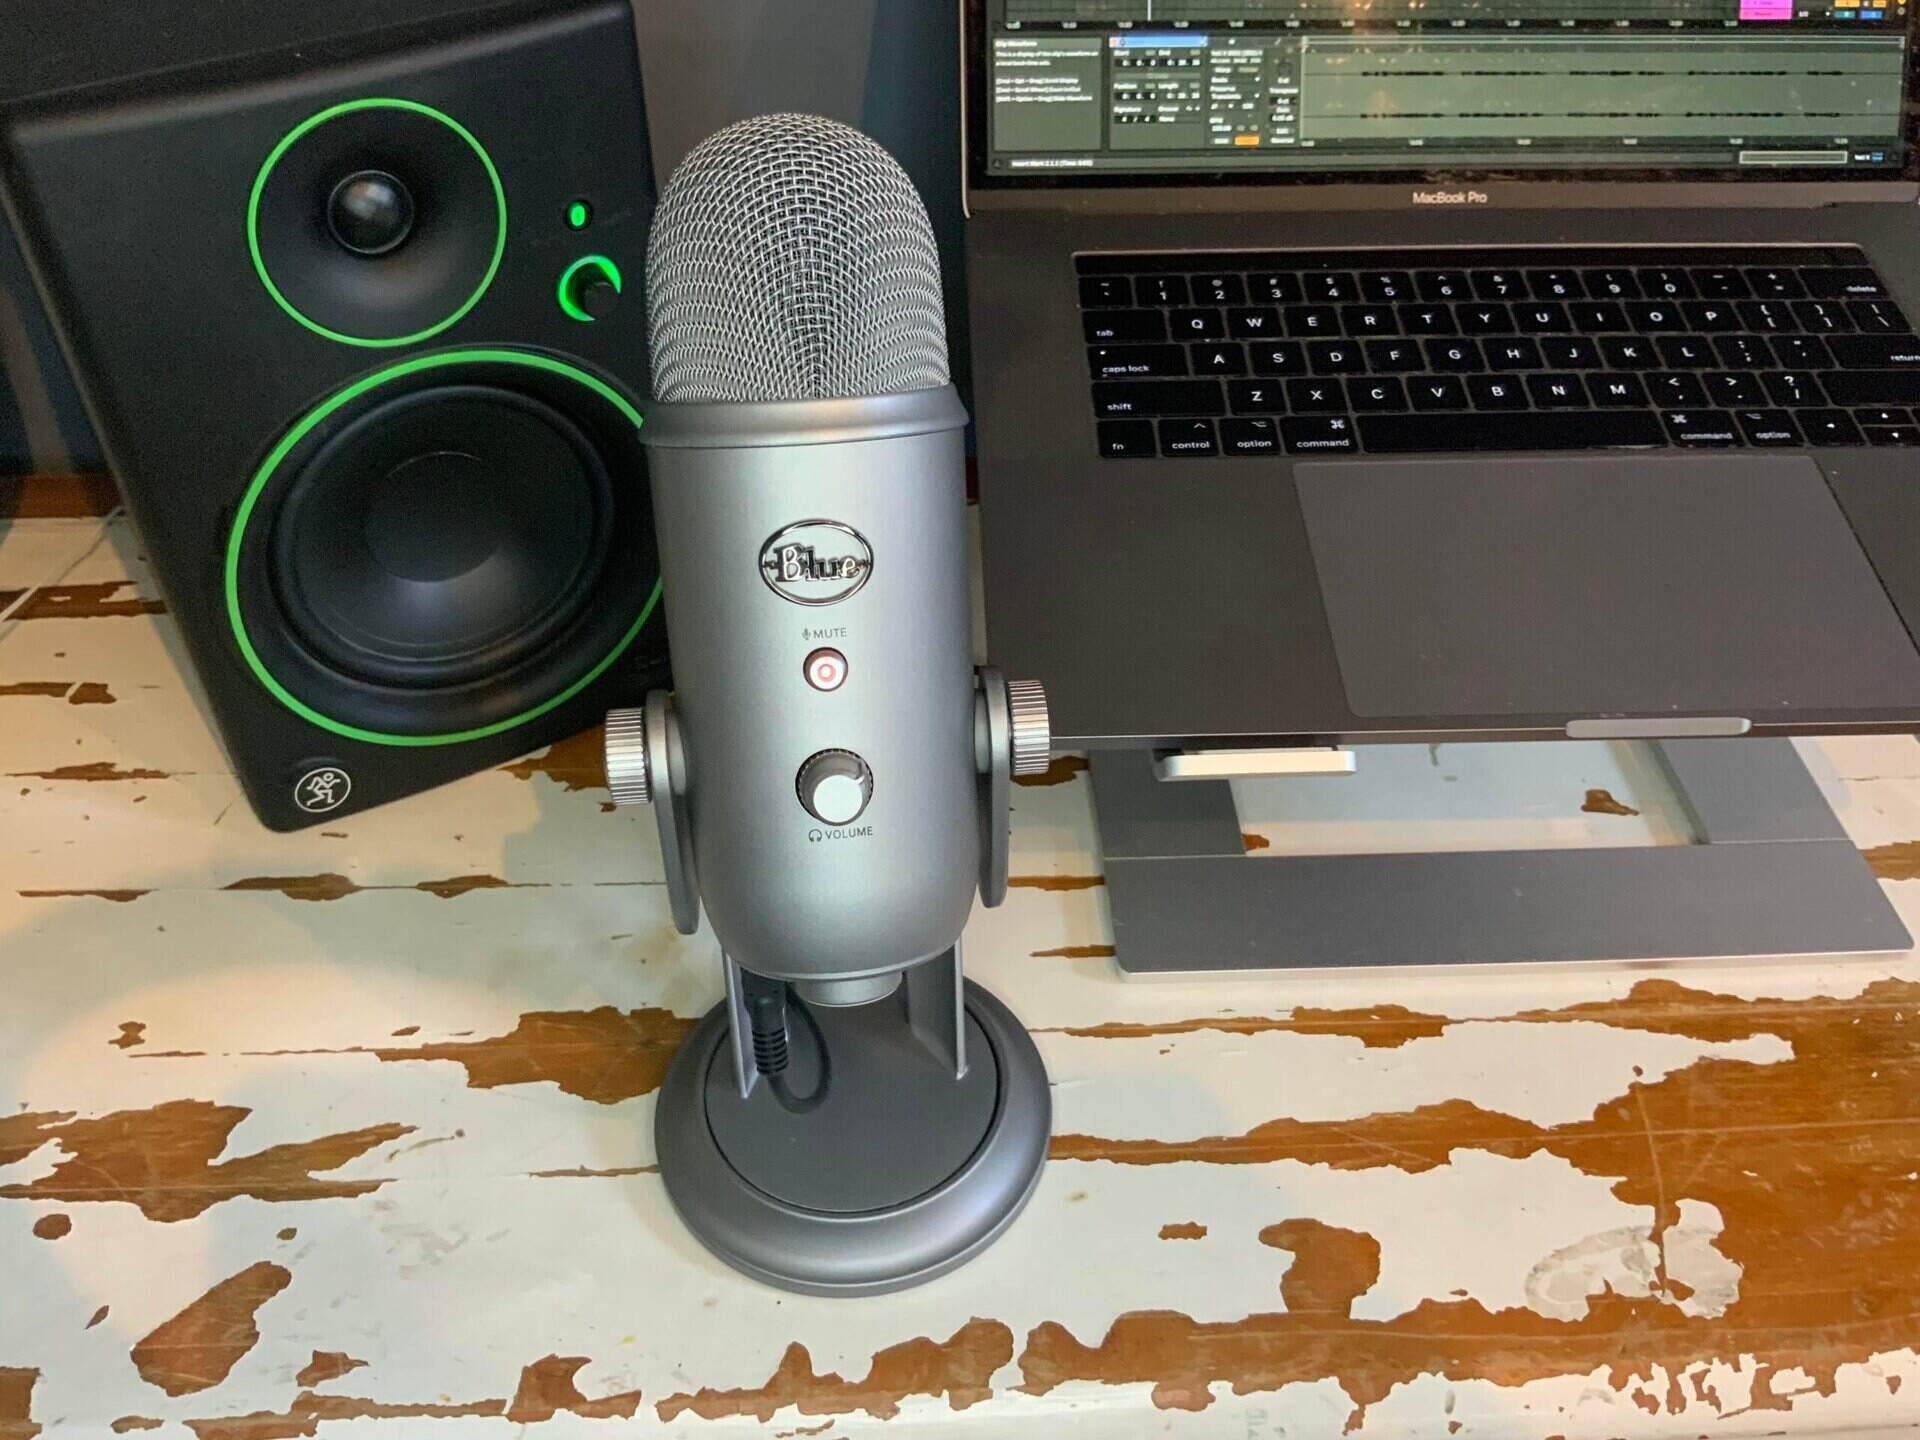
The Blue Yeti microphone is among the most recognized and favored microphones available today. Whether you use it for streaming or podcasting, it is essential for it to capture your voice as clearly as possible.
Another important aspect regarding microphones, specifically the one that precedes the Yeti microphone in capturing your voice, is ensuring that your software recognizes your Blue Yeti microphone and that the mic is functioning properly.
As you know, this can be accomplished using only the default Windows microphone settings. However, installing the Blue Sherpa software enhances the experience with your Yeti microphone even further.
However, like every piece of technology, things can occasionally go wrong, and you might encounter the error "Blue Sherpa not detecting Yeti."
Here is why Blue Sherpa might not be detecting Yeti:
* Improper connection;
* Indirect connection to PC;
* Faulty USB cable;
* Wrong Control Panel settings;
Let's explore what can be done about that.
[/sc]
What Does the Blue Sherpa Software Do?
If you're unsure about what this software does, here are some explanations before you begin fixing it. You may be wondering if having separate software is significantly different when Windows already offers basic options.
Since Blue Sherpa is developed by the same company that produces the Blue Yeti mic, having it installed simplifies the process of receiving updates for the Blue Yeti microphone.
The updates are installed directly to the mic, so you don't need to overthink anything.
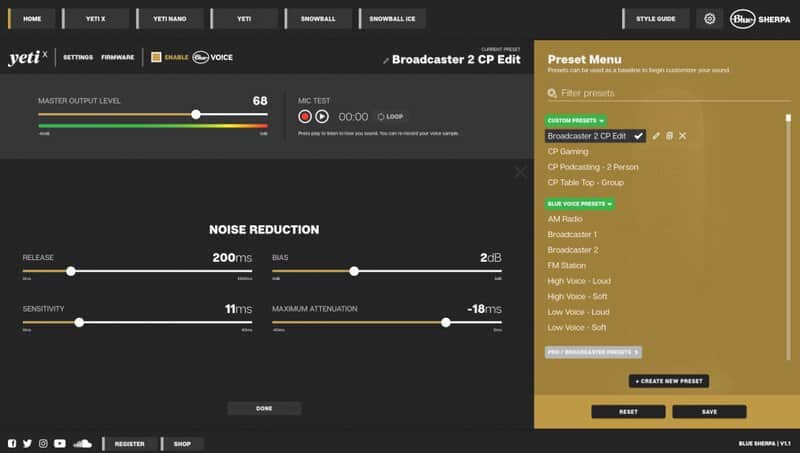
Through the Blue Sherpa, you can adjust settings such as the Gain of your Blue Yeti mic, as well as the Direct Monitoring and Headphone Level. These are crucial details for streaming and podcasting.
While the gain and headphone levels can be adjusted using the headphone volume knob, managing these settings through software will prevent the sounds of adjustments from being picked up by the mic.
Simply locate the volume icon and adjust it to your preferred sound level.
Additionally, you can be much more precise with your settings to discover what works best.
[/sc]
Why Are You Experiencing the Blue Sherpa Not Detecting Yeti Error?
There are various reasons why the Blue Sherpa may not recognize your Blue Yeti mic. Some issues are quite simple and may only require you to turn the device off and then on again. However, you might also need to access Device Manager and adjust some settings.
The solutions will be presented from the simplest to the most complex, and we hope you find one that will effectively resolve the issues you're experiencing with your Blue Yeti.
1. Ensure the Blue Yeti mic is properly connected
If the Blue Sherpa fails to recognize that the mic is connected, an "Oh No!" message will appear in the app, indicating that no devices are connected.
The first step is to check if you accidentally forgot to reconnect any previously disconnected devices.
And of course, ensure that you are connecting the microphone to the correct location, which is the USB port.
The microphone must be connected using the provided USB cable.
Eventually, plug it in and out a few times just to be certain. As we all know, no matter how silly this method may seem, it often works quite effectively.
However, if this is not one of those situations, please scroll down and explore some of the other solutions.
2. Connect the Blue Yeti microphone directly to your computer
Blue Yeti microphones may experience issues when connected to your computer through hubs or multipliers.
Like most devices, the manufacturer recommends that Blue Yeti products be connected directly to the PC's USB port.
This may pose a challenge for you, particularly if you need to connect multiple devices to your PC at the same time. However, connecting your Blue Yeti device directly, rather than through a hub or a multiplier, might be the solution you need.
3. You might have a defective USB cable
Even if you are using the USB cable provided by the company when you purchased your Yeti stereo microphone, it does not guarantee that it will be of good quality.
Sometimes mistakes occur, and you may end up being the person who received the faulty product.
To confirm this, you should first attempt to connect Yeti to your computer using a different USB cable that you have available.
If it works and you don't need that specific cable, then feel free to continue using it. However, it's always wise to contact customer service and report your Blue Yeti issue.
It could be effective, and you might end up with a new, functional cable.
Another way to verify this is to try connecting other devices that use the same USB input as the Blue Yeti.
If that works well, it may indicate that the cable is the source of your trouble.
4. Ensure that all settings in the Control Panel are correct
For your PC to recognize that a microphone has been connected, you need to adjust the mic settings in the Control Panel.
First and foremost, ensure that the audio format is of high quality.
When you enter the Yeti control screen, click on the Open Control Panel button located beneath the currently displayed window.
Doing so should automatically open the Recording tab of the Windows Sound panel.
There, you will find a list of all available devices, and you should select the Yeti Stereo microphone.
Next, click on Properties.
The next window that appears will be the Microphone Properties window. When it does, search for the Advanced tab and click on it.
You will see the default format that is currently selected, but after clicking on the down arrow, you will see all the available options.
After selecting the option you want, click on Apply, and then click OK.
Ensure that your headphones are plugged in and check if you have resolved your Blue Yeti issue.
[/sc]
Blue Yeti Not Recognized by Blue Sherpa
If you've attempted all the simpler resolutions and your PC still displays "Blue Yeti not recognized," here are the steps you need to follow to properly set up your Blue Yeti.
Even though the Blue Sherpa app displays the "Oh no!" message, it is highly likely that when the Sounds Settings or Control Panel are accessed, the device will appear as plugged in and fully recognized.
So, what should you do with the Blue Sherpa now?
First, you should navigate to the Device Manager.
If you cannot locate the Device Manager, search for it using the Search bar on your taskbar.
When the application appears, click and select Device Manager from the options.
Once you enter, click on the device and remove the Blue Yeti as an audio device. Here are the exact steps to do this.
If this has worked as we hope, you should now be able to go to the Yeti tab and work with the Blue microphone settings and control the sliders.
Hopefully, this will resolve your Blue Yeti microphone issues.
However, if something happens again and you forget the precise steps you need to follow, you can always return here and work through it!
FAQ
How do I fix my blue Sherpa not detecting my mic?
Ensure that you are connecting it to the correct ports. If you are using a hub or a splitter, that could also be problematic, so try connecting the mic directly to the PC.
Another possibility is that your USB cable is faulty, so you may need to replace it for the mic to function properly. If none of these solutions work, you should uninstall the mic from the Device Manager, reboot your PC, and allow Windows to reinstall the mic's driver.
Does Blue Sherpa work with Blue Yeti?
When you purchase a mic from Blue, you can install Blue Sherpa for easier access to various adjustments you may need. When your Blue Yeti mic is connected, the Blue Sherpa home screen will automatically open. This is also how you will receive all necessary firmware updates.
Why is my Blue Yeti not recognized on Mac?
Other issues may require you to update your Mac or check the audio settings to ensure you select "Set default device" for your mic to prevent future problems. You can also try installing software called Krisp, which many users have found helpful for managing background noise.