There are times when you may experience weak internet connections or network issues on your macOS system. Most, if not all, Mac users have faced this situation. However, as frustrating as it can be, managing an internet network connection on macOS should not pose a problem.
Sometimes, all you need is to understand how the behind-the-scenes connections function in macOS to make everything work. Regardless of which MacBook model you’re using, this can be achieved in just a few steps.
This blog will guide you in setting up various internet connections on a Mac and configuring network settings for your macOS.
How to Connect Your MacBook to Wi-Fi
Your Mac allows you to connect to a network that provides Internet access via Wi-Fi, an Ethernet cable, or even a personal hotspot. To connect your MacBook to a home Wi-Fi network, ensure you are within range and that the router is powered on and functioning properly.
Proceed to check if the Wi-Fi signal is strong enough for your device to detect. Keep in mind that most home Wi-Fi networks are usually connected to private locations, which means you will need to log in with a password the first time you connect.
These simple steps on how to connect a MacBook to Wi-Fi will help you complete the process. Let’s explore the details:
The process doesn’t end there. To verify that your internet connection is functioning properly, open a web browser, visit any website, or perform an online search. If it works, you will have successfully established an internet network connection on your macOS device.
Remember that you may encounter some challenges during this process. You can resolve certain issues, but others may require consulting your router's user manual. If needed, contact your internet service provider for further assistance.
Why isn't my Mac connecting to Wi-Fi?
Several factors can affect your Wi-Fi connection at home. Generally, your connection may drop due to issues related to the device itself or those arising from your service provider.
If your Mac won't connect to Wi-Fi, the first step is to verify that you are connected to the correct Wi-Fi network. Other quick troubleshooting measures include checking Wireless Diagnostics, DNS settings, and the physical hardware.
If your Mac is not connecting to Wi-Fi, there are several quick solutions you can attempt. Let’s explore some of them below:
1. Inspect the Physical Hardware
Sometimes, a simple reboot of your router and modem can lead to significant improvements. Unplug both devices, wait a few seconds, and then plug in your modem, followed by the router. This often resolves minor connectivity issues.
Another essential step is to update your router's firmware. While some routers update automatically, others require manual updates. To verify that your firmware is current, access the router's admin panel through a web browser. Update it to avoid future connectivity issues.
2. Verify Your Network Connection
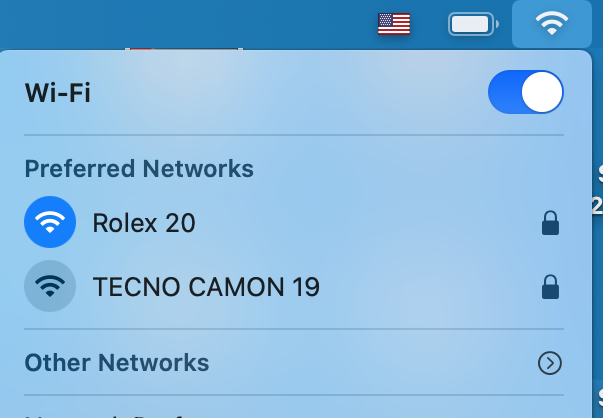
Ensure that you are attempting to connect to the correct Wi-Fi network. Macs can occasionally connect to unintended networks, leading to connection problems. Click on the Wi-Fi icon on your Mac and confirm that it matches the correct network name.
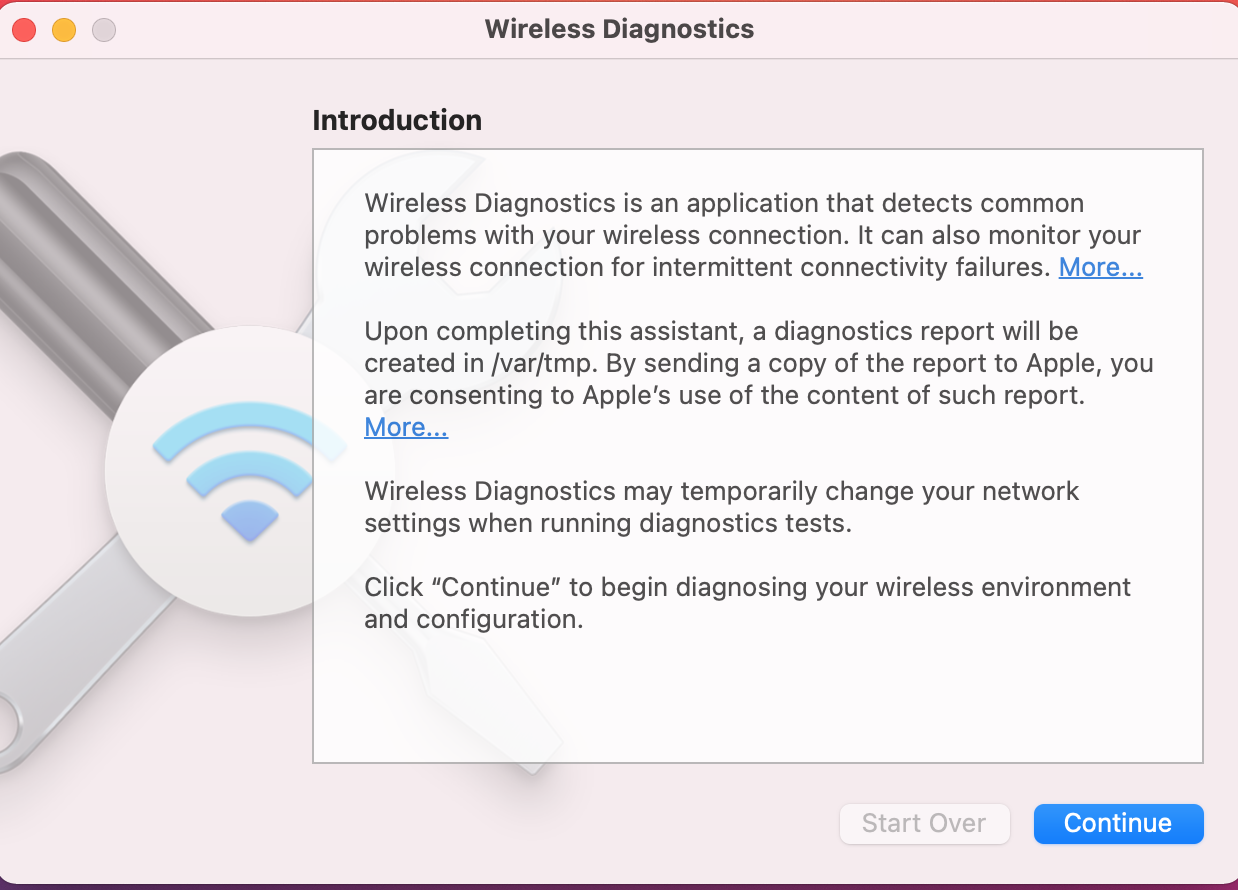
3. Run the Mac Wireless Diagnostic Tool
If issues persist, consider using Apple's Wireless Diagnostic tool. This network analysis tool in macOS can help you quickly detect and resolve all wireless problems. It is especially useful when your Mac is connected to Wi-Fi but has no internet access.
Here are a few straightforward steps to access it:


4. Check Your VPN and Security Software.
Ensuring online security with Virtual Private Networks is essential; however, they can sometimes affect internet speeds. By encrypting your online traffic and routing your internet connection through remote secure servers, VPNs can considerably reduce connectivity speed.
To speed up Internet on your Mac, consider temporarily disabling your VPN or security software. Alternatively, select VPN servers that are closer to your location to reduce the time needed to redirect your data.
5. Restart Your Mac or Wi-Fi
When troubleshooting Wi-Fi issues, restarting can often be very effective. Sometimes, simple connectivity glitches can be resolved with a fresh start. If the problems persist, it may indicate a significant hardware issue with your Mac or router.
Additionally, turning Wi-Fi off and on after a restart can help your Mac rediscover available networks.
How to Connect to the Internet on a Mac Using a USB Modem or Ethernet
MacBooks also allow you to access the internet via USB modems and Ethernet connections. Here’s how to connect your Mac to the internet using an external USB modem:
Are you interested in using an Ethernet connection for your MacBook? Don’t worry! Here’s how to set it up:
Establish a wired internet connection by connecting an Ethernet cable between your device and the router or modem. If your MacBook does not have an Ethernet port, you will need an Ethernet adapter to make the connection.
It is important to note that you may often encounter issues with specific Ethernet connections on your Mac. Some reasons an Ethernet connection may not function properly on a MacBook include:
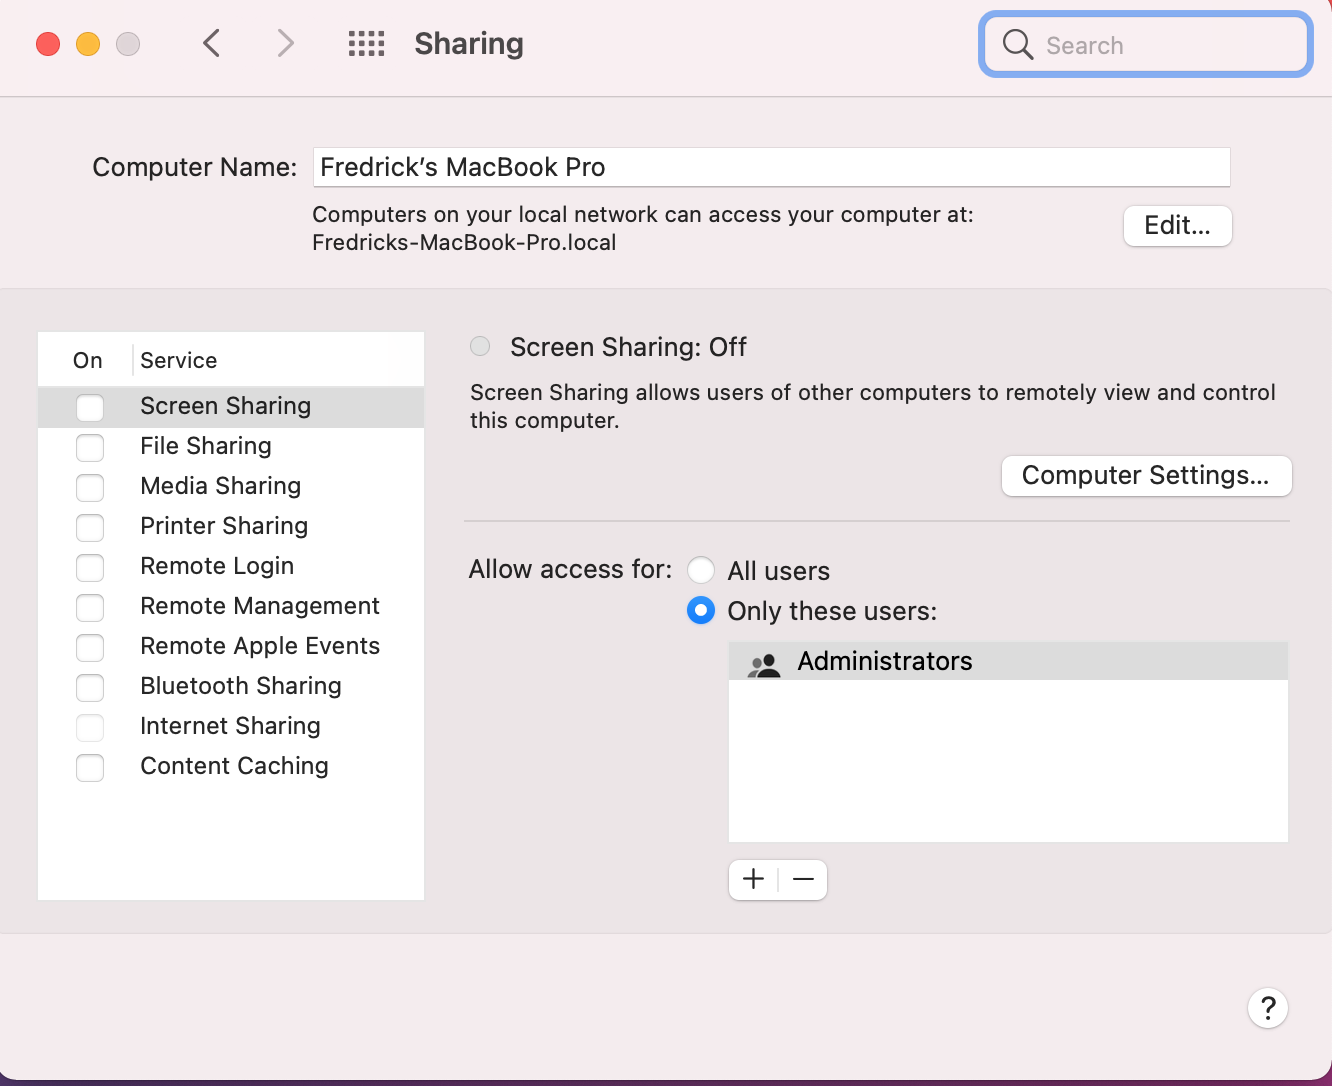
Sharing Your Mac's Internet Connection with Other Devices
Facilitating your Mac's internet connection for multiple devices can be necessary at times. MacBooks lack a native feature for this purpose. However, using the Internet Sharing option offers a simple solution for sharing your Mac's internet access with other devices.
To share the connection via Wi-Fi, your Mac must receive Internet through Ethernet instead of Wi-Fi. This limitation is due to the Mac's internet network device, which can either receive or emit Wi-Fi signals, but not both simultaneously.
Here is a step-by-step guide to initiate this process:
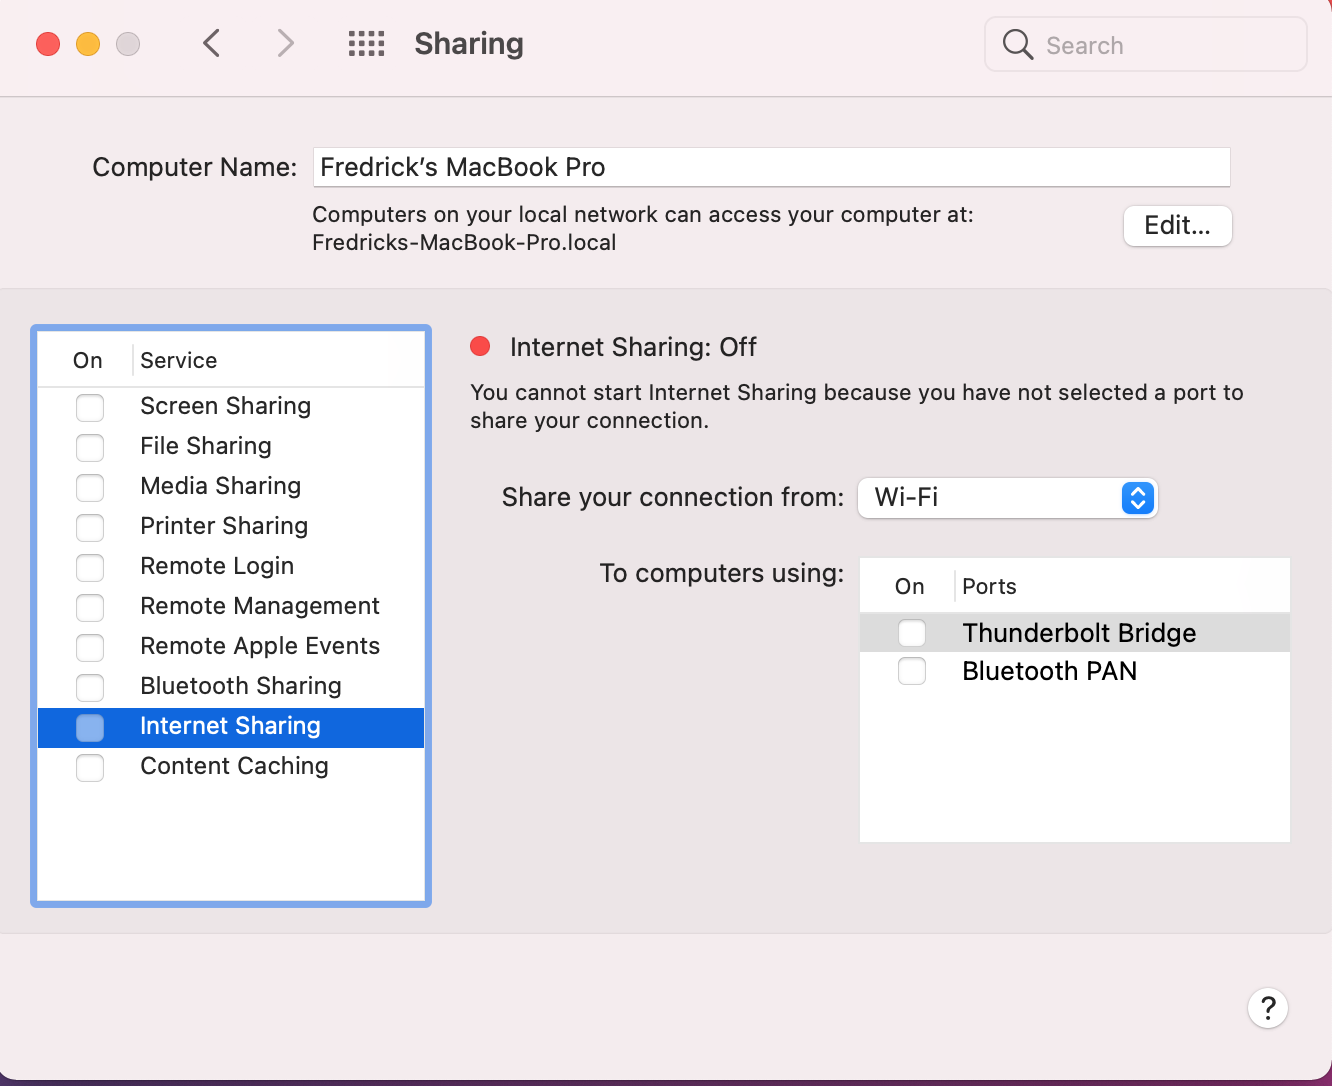
Once the settings are configured, click OK to activate Internet Sharing from the left pane, and then click Start.
Sharing a Wi-Fi Password from Your Mac to Another Device
The need to share a Wi-Fi connection often arises when you're connected to a Wi-Fi network on your Mac but cannot recall the password to connect other devices.
If both devices are Apple products, using iCloud's Sharing feature makes it simple to share Wi-Fi passwords between them. This enables seamless connection access for you and your friends.
Follow these steps to effortlessly share the password between devices:
When you attempt to connect and are prompted for the password, a notification should automatically appear on your already connected device. This action seamlessly connects the second device to the Wi-Fi network.
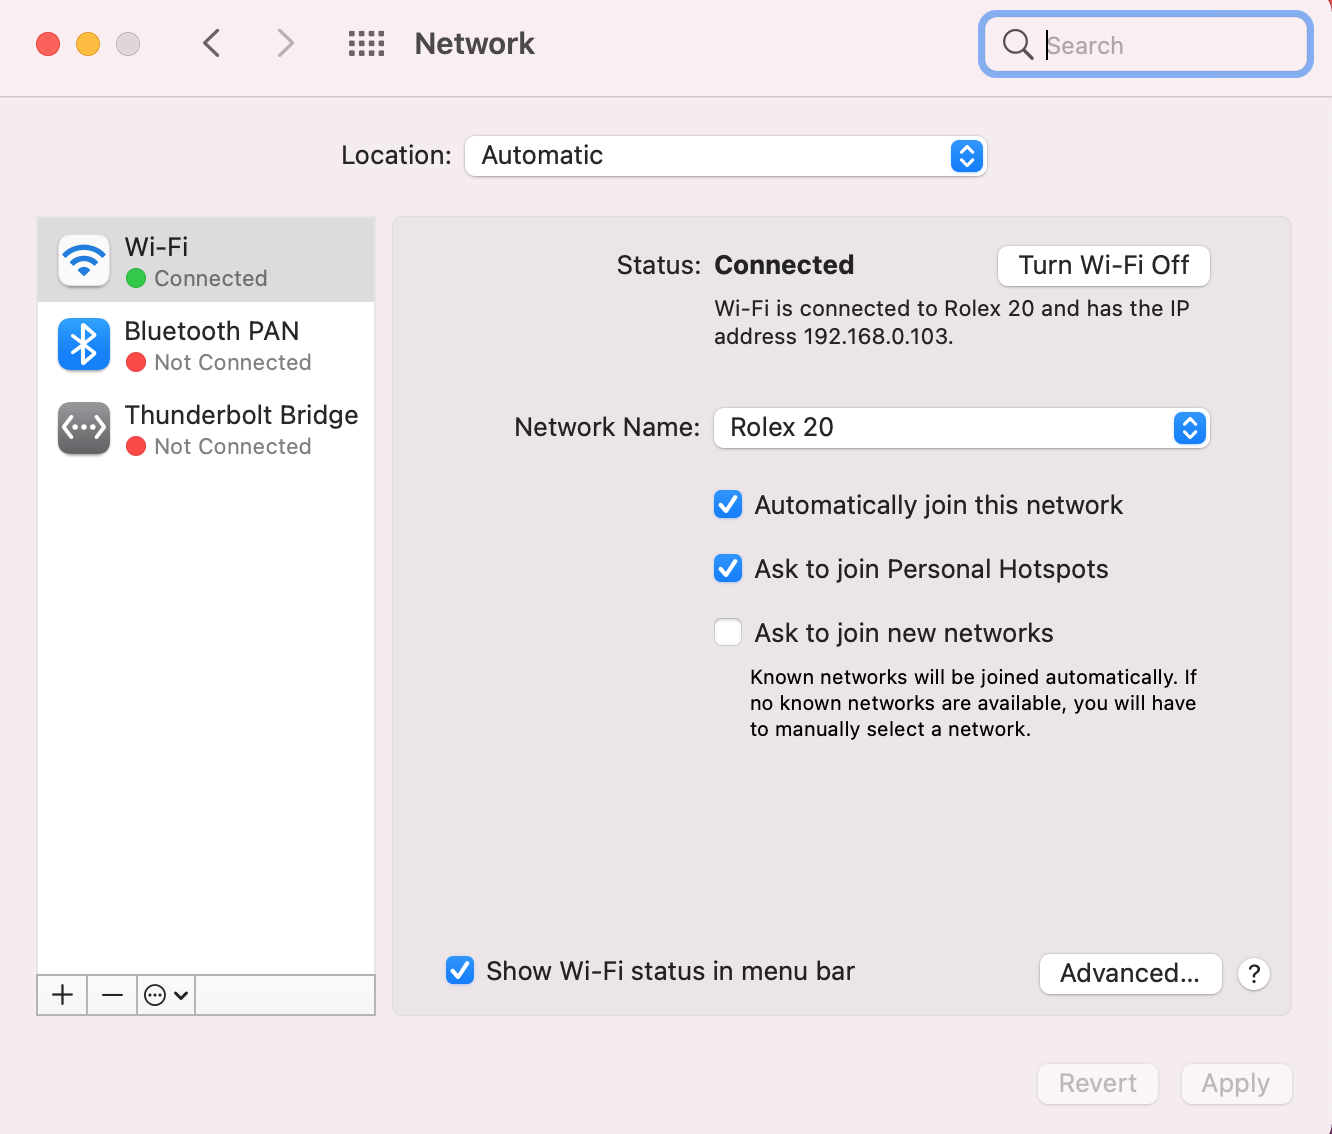
Customizing Network Connection Priority on Your Mac
With various networking options available, including Ethernet, Wi-Fi, or iPhone tethering, there may be times when you want to instruct your Mac to prioritize one connection type over another.
Fortunately, macOS provides a solution for establishing the priority of network connections.
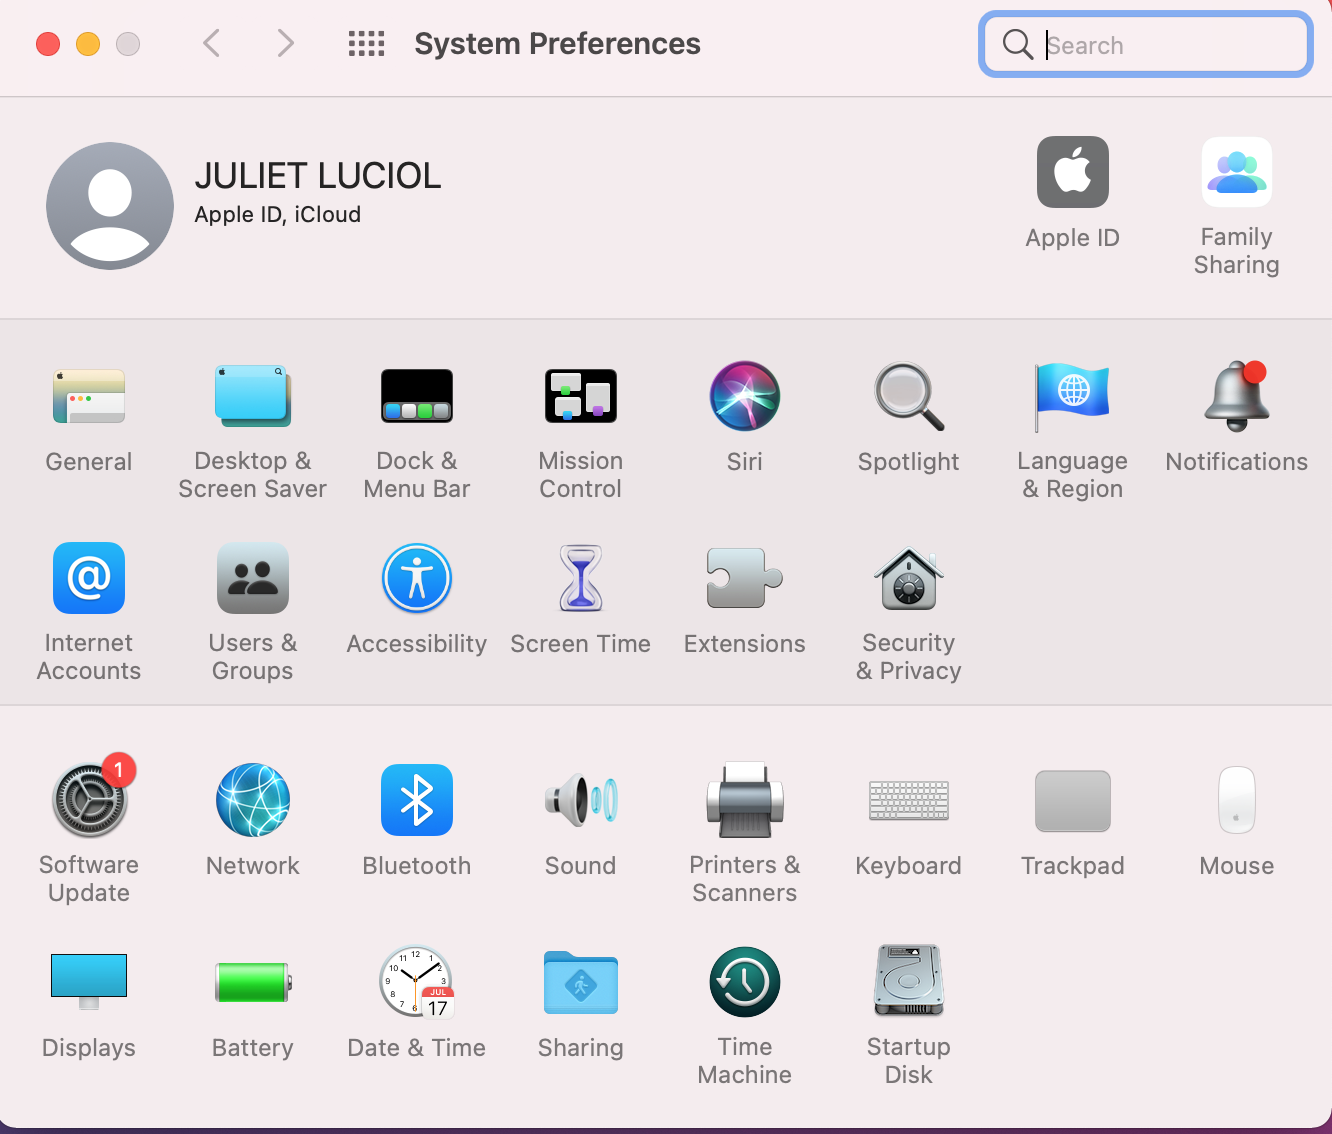
This ensures that your device connects to local networks and internet resources according to your preferences. To customize your network connections effectively, follow these straightforward steps:
By specifying the order of different network adapters, your system intelligently selects and uses the preferred network connection based on your established priority.
Final thoughts
Understanding how to set up internet connections on macOS can transform your device into a connectivity powerhouse. By exploring the options outlined above—connecting to a Wi-Fi network, configuring external modems, or using Ethernet—you can enjoy an enhanced internet experience like never before.
Remember that you can continuously adjust these internet network connections to align with your Mac's connectivity preferences. The straightforward steps outlined above guarantee seamless internet access and allow you to personalize your network setup, enhancing your overall browsing and working experiences.